Wednesday, May 28, 2014

Portobello Farmhouse Table Set with Dark Walnut Tops!

Hello everyone!  I hope you have all been enjoying some warmer weather wherever you may be!  It's been so lovely here in Boise.  We were at 84 degrees yesterday.  The flowers have been blooming like crazy, I've been harvesting my strawberries for a few weeks now.  It's just beautiful!

So I'm sharing my latest Farmhouse Table set with you today.  I painted this one in a light gray, and then hand distressed the whole thing, and finished the base off with a brown glaze, giving it that dirty gray color.  I am calling this color Portobello.  I then stained the top in a Dark Walnut.  I love the dark top and gray color combination together!  It's very French Farmhouse to me.  I did a simple tablescape for my little mini photo shoot, using whites and Lavender. 


 Check out what this beauty looked like before I had the chance to work on her.  Kind of a reddish maroon paint and light maple top.  I sanded it all away and gave her some new finishes.  It doesn't even look like the same table anymore!


I beat the entire table up with a hammer and some screws.  I use the screws to make those neat little bird pecking holes.  They always catch the glaze too.


I am just loving my flowers this year!  I picked up several Salvia plants and the pops of blues and purples are just stunning!

Well thank you as always for stopping by to see what I've been up to!  I hope you all have a lovely week!
xo Jen

Joining the Party!
Savvy Southern Style  
Miss Mustard Seed 
 

Tuesday, May 20, 2014

Backyard Makeover, Before Pictures!!

Okay, I am embarrassed happy to show you the before pictures of where our yard was six weeks ago.  I hate to admit it, but we neglected our backyard for the last two years, with the exception of mowing and watering of course!  But this year, I have had lots of plans.  I love to create beautiful spaces for us to enjoy and gather with family and friends.  So this year, we have been working away at creating just that! 

For years, I put off getting my girls a trampoline simply because I didn't want it to be the main focus of our somewhat small back yard.  Well, it has become just that!  But with the amount of fun and endless love for playing and jumping on this thing, it's so worth it!  So how can I configure this yard not to revolve around this trampoline?  I think by creating beautiful distractions.  Now let's be real, it's not like it's going to vanish out of site and not be noticed at all.  But it will have it's own place and not be the main focus anymore.. I hope anyway! ;)


Unfortunately our maple tree was killed by bugs this past year.  What a bummer!!  And that wasn't the only thing that they got to.  My two lilac bushes on each side were victims as well. :*(  Now that's a triple whammy! 

Aside from two dead bushes and one tree, notice the grass growing right into the flower beds?  Yikes!  This is neglect at it's best.  Lot's of work to be done here!  

Our fence needs to be replaced BADLY!  That is something that might have to wait a bit longer.. but I'm sure there are things we can do to fix it up a little until we can replace it (aka, trim down the newer boards so they are the same height as the existing fence boards!!!!!) haha!


 My patio is really crowded in these pictures.. We have a large herb planter that I built last summer, our BBQ, a smoker grill, and an old black picnic table I picked up at a yard sale several years ago for $10.00.  We have had many years with this table, but it's time to retire it off of my patio!  I have bigger plans for this patio.  I've always wanted a farmhouse table, but my dining room is just too small for one, so my patio is the next best spot!  But how will I fit it with all this other clutter on here?!  And some of this clutter is necessary!  Like the grilles!  We have to have those out here.. and in a convenient spot too.  I was scratching my head for some time trying to get this problem figured out.  Well, rest assured, I came up with a great plan!  You'll just have to check back to see what I came up with!


Notice the tree to the right growing into the roof!?  I am known for not reading tags on shrubs/trees/flowers/everything!!!  I didn't realize it was a tree I had purchased!  I thought it was a cute little shrub, well, low and behold, my little shrub had a major growth spurt! :)  So we are moving him to take the place of my dead maple tree.  He will have room to grow and thrive over there! 


 I have a new fire pit and four Adirondack chairs waiting to be arranged out here!  At the moment there is no room!!  But I have a plan!  This space will be transformed into a lovely and inviting seating area.


Well, now you have seen the bad, the ugly, and the neglected.  So check back soon for my big reveal on what we've been working on for the past six weeks!!  It's a pretty dramatic difference, for a low cost backyard makeover!  As always, thanks for stopping by, and for your comments!  Have a great week!

Jen


Wednesday, May 7, 2014

Old Family Airloom Dresser Gets a Gorgeous Facelift!!

 I just finished up this adorable little dresser.  It wasn't bad to start with, however this piece is going into my clients nursery, and it was in need of some elegance and updating!

I was given a picture of another dresser that we used as our inspiration piece.  We were after a Champagne finish with silver leafing on the details.  Something with some elegant character, and a bit of aging.  Well, I think we accomplished our mission!


 I started by taping off all of the drawers.  I wanted to keep the original wood for the interior as everything is still in great shape.  Once they were all taped off, I proceeded with two coats of a light gray paint that I have on hand.  This was to give it a nice strong undercoat, and cut down on the spray I was about to use.  

After two coats of paint, I sprayed three even coats of Rustoleum's Metallic Paint and Primer In One, in Satin Nickle.  This color was a little too silver since we were going for a Champagne look, but I already knew I'd be glazing the whole thing down with a brown stain.  This accomplished two things, the color I was after, and the aged look we wanted it to have.  Glazing is so easy.  Have you ever given it a try?  Just a little tip, before I glaze a piece of furniture, I always spray one coat of lacquer first.  This keeps the stain from soaking into your paint.  While you want color there, you also want to be able to manipulate that color and have the ability to wipe it off to your desired look.  If you're going to try glazing with stain, I recommend that you create yourself a little sample board.  Try one without a coat of lacquer, and one with.  Check out the difference.  Who knows, maybe you'll like it better if it soaks into the paint.  But a sample board always works well for me, and keeps me from messing up the whole thing!! ;)


I painted the details of this dresser with silver leafing paint.  I found mine at Hobby Lobby.  It wasn't expensive at all and will go far.  I had to do three coats to get this look.  I also silver leafed all the old hardware.  I've never used silver leaf before, but I can assure you, this won't be my last time.  It gave the piece that little bit of sparkle, elegance, uniqueness.? I think I could come up with several more words, but I'll stop there, haha.


So now that this dresser is finished, I'm moving onto the crib!  So check back to see the before and after.  It will be just as adorable as this little dresser!  Maybe... haha  Have a wonderful day!
xo
Jen


Joining the Party!!

Savvy Southern Style 

Thursday, May 1, 2014

Antique Dresser Transformation!!

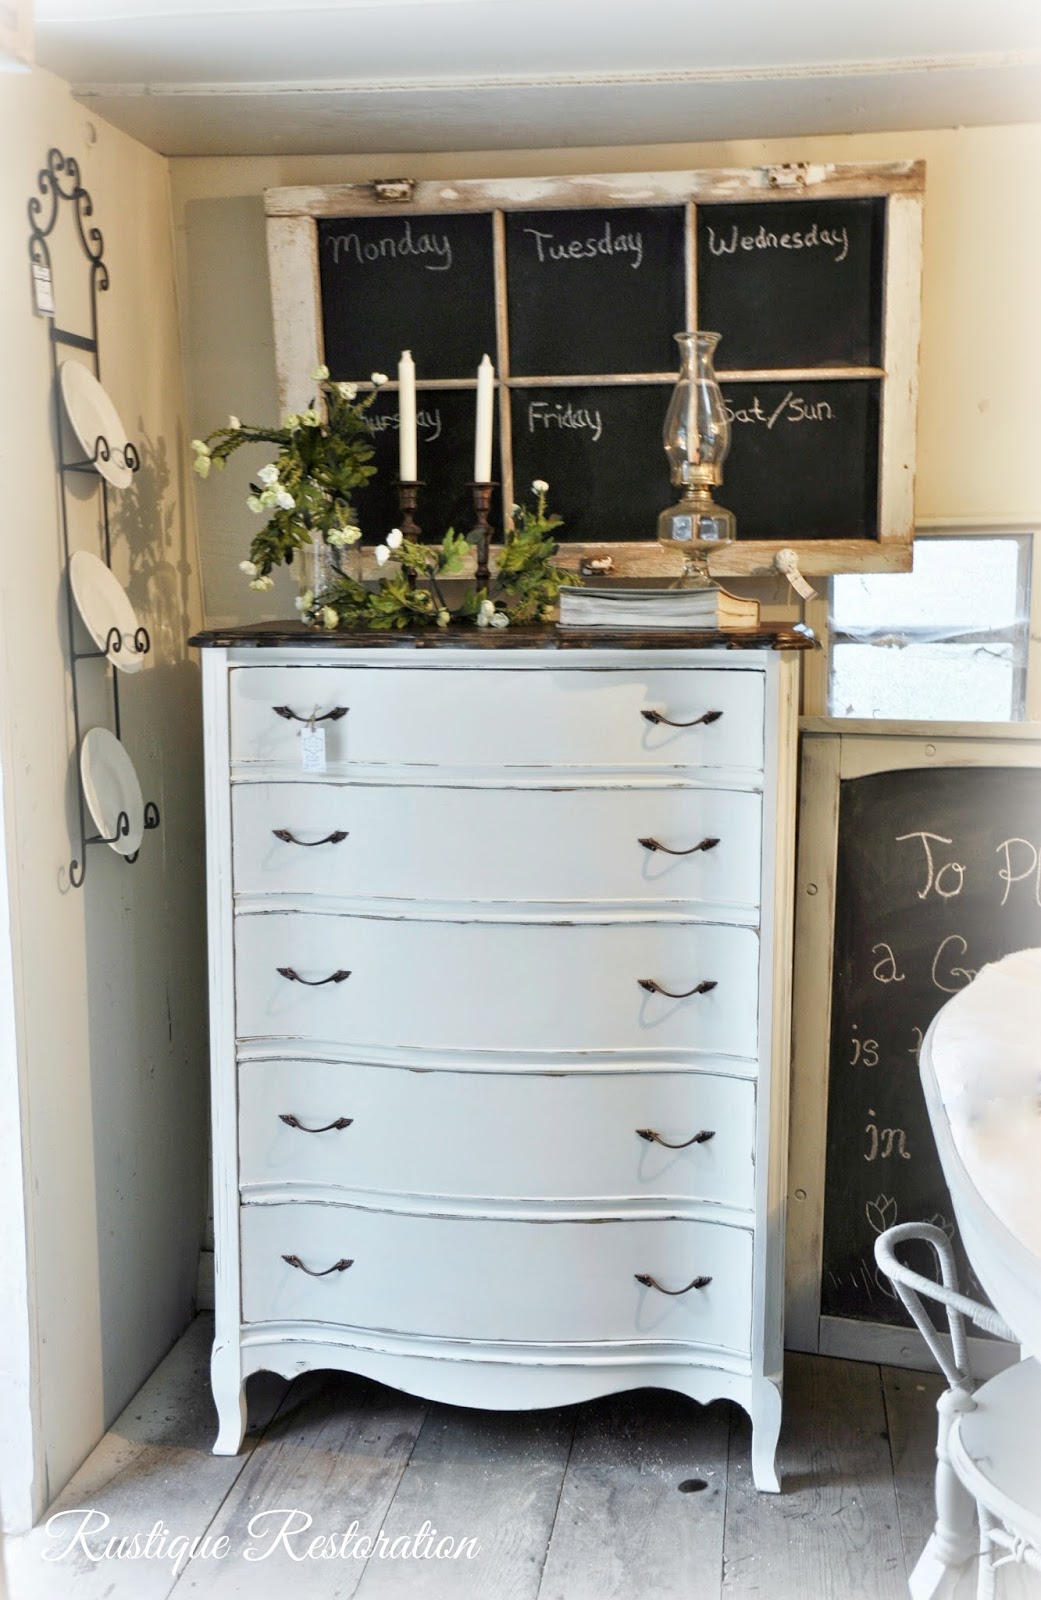
I picked up this dresser from a client that I built a couple benches for.. She had all sorts of goodies in her barn, and around the house, and this was one of them!  I saw the potential immediately.. curvy drawers, everything solid wood.. yep, tons of potential!


While potential was there, a lot of work was as well.. Someone had filled in every scratch with Bondo. I planned to paint the entire base of the dresser, so that wasn't an issue.. But the top had to be sanded thoroughly.  I used my palm sander, first with 80 grit to get it all off, and then switched to 150 grit.  After that, I used what I don't know that I would even refer to it as a sanding block anymore.. it's basically a block.. :)  Very smooth, and makes my tops nice and slick!


What a difference right?!

I decided to go with one of my favorite darker colored stains, called Dark Walnut.  I think it was perfect for this piece.  
 I replaced the hardware as well.  Picked up these cute pulls from Lowes.  These were less than two bucks a piece!  Have you ever had to replace hardware on a dresser before and struggled to find something that looks like it's for furniture and not kitchen cabinets?  Well I have!  But this is my second time using this same hardware.  Last time I painted them a creamy color and distressed them.


I just love finding pieces that have potential and transforming them into something beautiful!  I couldn't ask for a better job!  
I hope you all have a lovely week!  It's 78 degrees here in Boise today!  And I'm LOVIN it!
XO

Jen

Linking up at:

Tuesday, April 15, 2014

Honey Stained Farmhouse Table Set

Hello my friends!  I wanted to share my new farmhouse table set with you today.  I stained the table and bench top with a light honey brown, and painted the base in my usual Vintage, by Valspar (found at Lowes), along with a honey brown glaze over everything!  It's lighter than the recent farmhouse tables I've been selling.. and I love it for spring!


I tried out a new bench style for this table set.  I love this look :)  It's nice to mix it up a little sometimes.  My husband strongly disagrees with that statement! haha  He is always telling me, keep doing what's selling!  I see his point, however, if I can expand my options, I may be able to grow and expand my clientele.  :) :)


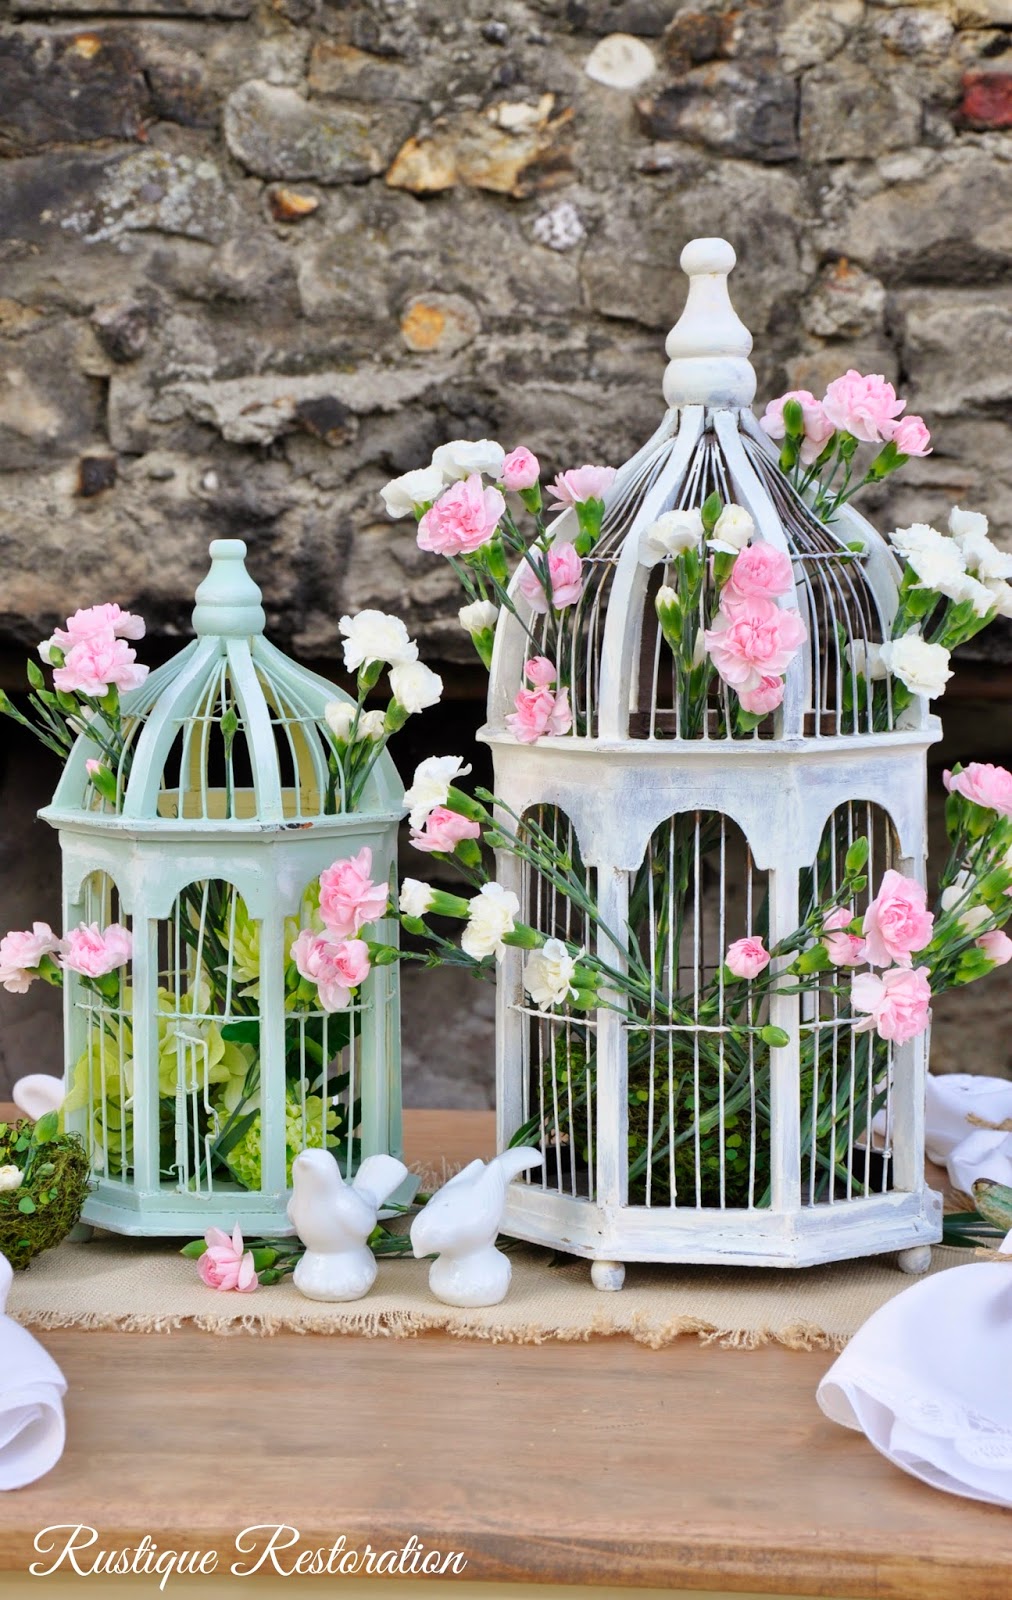
I did a quick little spring inspired tablescape using painted birdcages filled with flowers!  It's kind of a romantic-fresh inspired look.  I just used a simple blonde fringed burlap table runner, white linen napkins tied with jute string, and a couple accessories.  Very simple and fast!


I am so in love with these crisp white linen napkins I scored at a second hand store!  They have such a beautiful detail at one of the corners, it looks like a butterfly to me.. I find these timeless and perfect for a spring inspired table!


I might throw together a DIY for this above floral arrangement.. All depends on time friends! :)

Thanks for stopping by today!  I hope you have a wonderful week full of sunshine and maybe some of your own fun projects! xo

Jen

Linking up at:

Wednesday, April 2, 2014

French Chippy White Side Tables

Happy April everyone!!  I honestly cannot believe how fast this year is flying by.  I'm so excited for some warm spring weather!  Our family just finished up a Spring Break trip to California.  We went for both business and family.  Had a lovely time.  Spent good time with our loved ones, saw the beach, and made it to San Francisco!  My hubby met with his clients and it went wonderfully!  So great trip all around!  While I was there, I hit up the local Craigslist, and came across these two beauties.  Fell in love instantly!  I couldn't wait to get them home and work on them. 


As you can see, I went for a really chippy look.  Kind of just happened really, but they look so neat and fun to me :) 


I picked up a couple other things while on my trip!  Like this cute vintage looking dress stand!  It's shabby, and chic, and white!  Just love it!


I'm a sucker for tarnished silver.. Picked up this adorable little sugar bowl...
  I made these cute little French looking coasters awhile back, and finally took them to the shop.  They come in sets of four.

 I've added some new items to the reclaimed shelves... Vintage classroom chalkboards that were pulled out of a school that was torn down, salt and pepper shakers, some garden inspired artwork.. 


Well, that sums it up here today!  I hope you enjoyed all the pictures {since I had like 20 of them!} :)  Have a blessed and wonderful day! xo

Jen

Linking up at: