Showing posts with label solid wood. Show all posts

Wednesday, January 20, 2016

Historic Marble Desk and Custom Mahogany Conference Table


So these past couple months, I have been working on this beautiful custom project.  My client had pulled these gorgeous 4" thick marble slabs out of a historic building in Downtown Boise before it was remodeled.  The building dates back to the late 1800's!  How cool is that!?  He was inspired by them and wanted them for his desk top.  That's where I came in.  We sat and drew up a quick design for the desk, and a conference table to match.  The design was tweaked a few times, and I believe we ended up with the best result!  
 
 Everything is constructed out of gorgeous Mahogany, and received several coats of a rich Ebony stain.  Talk about a stunning contrast!

 The marble weighs several hundred pounds, so coming up with something sturdy and safe was very important.  We designed a steal frame to support the marble and keep it from sagging or caving over time.  


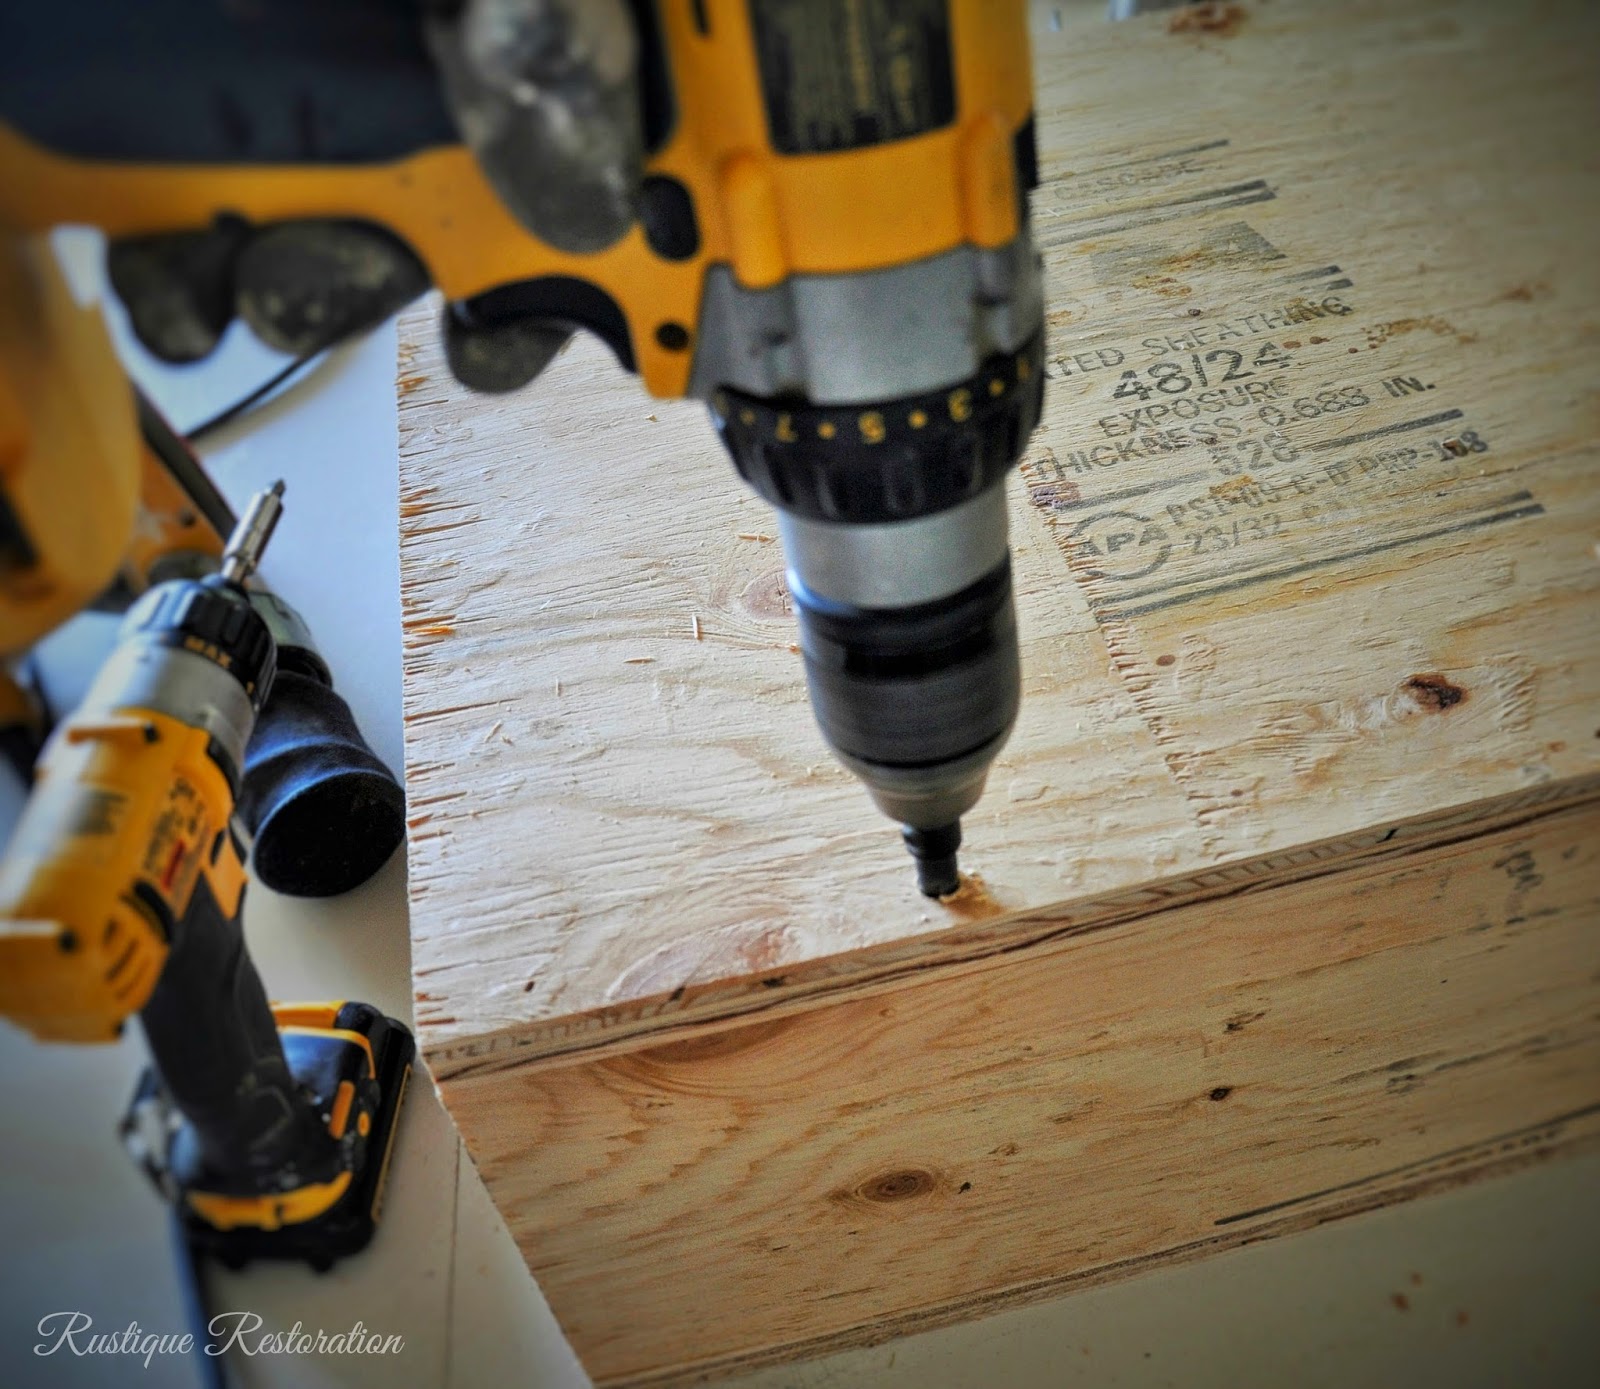
 This project was going into another historic building in Downtown Boise, so we had to work with smaller elevators and awkward staircases.  After the last project we completed down the hall, we knew we wanted a simpler delivery and installation process this time.  So we built the conference table in sections.  The whole thing was built in the shop, and finished together, and then taken back apart to get it into place.  Below, Brock is screwing the two skirt/drawer sections together.

 This conference table measures in at eight and a half feet!  102"!!  I built six pencil drawers (three for each side).


This was a fun and challenging project to build.  I am so grateful for the work God has brought my business.  I know that 2016 is going to be another great year for Rustique Restoration!  Thanks for following along and for all of your support through out each year!

xo Jen

Wednesday, October 8, 2014

Crate&Barrel's Paloma II Dining Table with a Twist

Hello Friends!

My version of Crate&Barrel's Paloma II table is finished and my client finally getting to enjoy it!


I wrapped the bases with Douglas Fir, which were ripped down on the table saw.  I cut 96 pieces of both the long and the short strips.  They had to be individually stained.  This part was quite the process.. But it turned out great!  And it was pretty fun watching it all come together.

The self edge is crafted out of White Limba.  Such a unique grain to this wood.  I had a blast working with it. 


 The top is made out of a gorgeous Hickory.  Doesn't look like your normal Hickory right?  Well, did you know that for every cut of wood, there are two sides to choose from?  The grain is different depending on how you cut.  So my client chose this really unique, and I think exotic looking side.

I stained the top in Natural, and then a coat of Weathered Oak.  The self edge was given a coat of Honey, and then the Weathered Oak. The table was sealed using Polyurethane Wipe On by Minwax.


I am IN LOVE with the chairs my client picked out to go with this table.  They are a rustic microfiber suede, and I love the nail head trim!  So rustic, yet elegant.


The light fixture really suits this new table set as well.  Great choice David!  This room is really coming together!


I posted the process of how I made this table on my other post.  You can find all those pictures here!  Thank you for stopping by!  I hope you all have a blessed week and enjoy this fall weather!

xo Jen


Linking up with:

Miss Mustard Seed


Wednesday, September 17, 2014

A Custom Table Commission, Getting Started

I have been commissioned to build this gorgeous table originally made by Crate and Barrel.  My client loves the uniqueness of this table and all the rustic and sleek features.  Wanting to know the artistry behind the piece and the work that went into creating it, he decided to hire me to take on the job.  So glad he did! ;)  The table pictured below is my "inspiration piece", the Paloma ll Dining Table from Crate and Barrel.

I decided to start with the legs first.  As you can see, they are column like bases, with a stacked wood look.  FYI, My hubby and I are tackling this one together!  This job requires a lot of time with our table saw, and I'm scared out of my mind that I will cut my fingers off not that experienced with a table saw.  So I just stand on the other end and help keep things level ;).  
I started with a 3/4" Plywood to build the core of the base.  Gluing all the seams, and nailing everything into place was first. 


Next I made my pilot holes with my counter sink drill bit, and then screwed the sides together to reinforce the nails and glue.


Here's my hubby using the table saw.  

After the boxes were built, I wrapped them with 1/4" hardwood planks at 3"wide.  These were glued first, and then nailed on.


As soon as they were planked, I moved right onto the staining process!  I love this part!  I started with a coat of Minwax Weathered Oak, and finished with a coat of Minwax Povencial.  This combination gives the piece that weathered, time worn look, yet at the same time allowing it to look warm and modern.


  Here you can see the layers...


So there is a days work!  Tomorrow we will be adding the wood that stacks up horizontally on these legs.  I can't wait!  I will post an update soon!

----------------------------------------------------------------------

So I decided to just post the update of the progress of this table on this post.  So here are the rest of the pictures!


 To see the finished table, click here!

Thanks for stopping by.  Have a great week!

xo Jen

Sunday, July 13, 2014

Handbuilt Toscana Bench


Introducing my hand built version of Pottery Barn's Toscana Bench.  Isn't she lovely!?  I was presented the opportunity to try and match their bench by a client, and I gladly arose to the occasion.  I love to challenge myself and try new things and create beautiful pieces of furniture.  That being said, I did have my moments of tears, and a lot of sweat with this pretty lil bench! {actually not quite so little, stretching a total of 88.5"!!}  I had no building plan to work off of, so I was designing as I made cuts.  This is my favorite piece of furniture I have built to date.  It's quality, and stylish all in one.

 The Toscana Bench flaunts gorgeous mortise and tenon appearing jointery, and support beams that cut into and rest on the leg supports, giving it tons of character.

 Breadboard ends give the bench a farmhouse appeal.
I stained the bench in Minwax Provencial.  I gave it three good thick coats of Deft brush on lacquer in Satin. 


I am so pleased with how this bench turned out.  I will definitely be recreating it again soon!  Thank you to my client for commissioning this lovely piece and giving me the freedom to roll with my creativity!!

I hope you all had a great weekend!  Until next time.

xo Jen

Partying over at:
Miss Mustard Seed