Showing posts with label Weathered Oak. Hickory. Show all posts

Thursday, October 30, 2014

One Room Challenge - Week 5

 WOW!  I can not believe we are already at the end of week FIVE!! Where has the time gone?!  I tell you what, I am going to have one busy week ahead of me.  There has been a lot of progress made, but there are still a lot of things on the list that need to be done! 

In case you missed the last several posts, here are the links so you can catch up.


Week 4 - Sorry, I missed this one! :-/

Okay, let's move onto what I accomplished over the past couple weeks.  I have two end tables built and one stained and finished.  The other one just needs to be stained.  I LOVE how these tables turned out.  I was originally going to do a more square looking one from one of Ana Whites Plans, but I decided to draft up my own idea.  I love the slanted legs and planked bottom and top.  I stained this table with one coat of Weather Oak, by Minwax, and then one coat of Provencial, by Minwax, over top of the W.O. stain.  You have to do the stains in order if you want to achieve this look.  Provencial is actually a pretty chocolatey brown if you use it first.  I sealed the table with Deft, in spray can form, in Satin.  This stuff rocks!  And it dries SO SUPER fast!  Which works great for me!

  
Seems like I've always got a photo bomber!  That is our Boston Terrier, Sadie.  :)


You can probably see the base area and that it still needs some work.  That is part of the foundation and it pops into the room about 4 1/2".  I am going to paint and trim that out this week.  It will be much more polished when I'm done with it!

Okay, next we have the bookshelves!  These play a HUGE part of my living room makeover. As you can see, there is still lot's to do on these!  I will be planking the backs today, and getting them painted up to match the top of the mantle.  I cut the mantle out of the picture because I've already started to stage it!  Didn't want to expose too much yet!  But I have to say, I am in love.  I know these shelves will rock when they are done too. 


 We pocket holed everything together, including the shelves.  I love my Kreg Jig.  Everything is so much sturdier. 


 After our plywood boxes were built, we cut our face frame pieces and glued and nailed them into place.  A face frame makes a HUGE difference.


I honestly cannot wait to show you the big reveal next week!  It's going to be so great to have this room done.  Below is my list of what needs to be finished and purchased by next Thursday!

The List


Horizontal Planks installed behind shelves
Base molding attached to shelves
Shelves Painted
Wood tops, installed and stained
Second end table stained and finished
Wiring for new light/fan, and installed
Build new console table for entry way
Finish the foundation molding
Fix Brick that is falling apart
Accessorize

Wow, okay, that was more than I even realized!  I better get to work! haha!  Be sure to check out all the other One Room Challenge linking participants at Calling It Home here!  There are a lot of really cool projects close to completion!  Thank you as always for stopping by!

xo Jen

Wednesday, October 8, 2014

Crate&Barrel's Paloma II Dining Table with a Twist

Hello Friends!

My version of Crate&Barrel's Paloma II table is finished and my client finally getting to enjoy it!


I wrapped the bases with Douglas Fir, which were ripped down on the table saw.  I cut 96 pieces of both the long and the short strips.  They had to be individually stained.  This part was quite the process.. But it turned out great!  And it was pretty fun watching it all come together.

The self edge is crafted out of White Limba.  Such a unique grain to this wood.  I had a blast working with it. 


 The top is made out of a gorgeous Hickory.  Doesn't look like your normal Hickory right?  Well, did you know that for every cut of wood, there are two sides to choose from?  The grain is different depending on how you cut.  So my client chose this really unique, and I think exotic looking side.

I stained the top in Natural, and then a coat of Weathered Oak.  The self edge was given a coat of Honey, and then the Weathered Oak. The table was sealed using Polyurethane Wipe On by Minwax.


I am IN LOVE with the chairs my client picked out to go with this table.  They are a rustic microfiber suede, and I love the nail head trim!  So rustic, yet elegant.


The light fixture really suits this new table set as well.  Great choice David!  This room is really coming together!


I posted the process of how I made this table on my other post.  You can find all those pictures here!  Thank you for stopping by!  I hope you all have a blessed week and enjoy this fall weather!

xo Jen


Linking up with:

Miss Mustard Seed


Wednesday, September 17, 2014

A Custom Table Commission, Getting Started

I have been commissioned to build this gorgeous table originally made by Crate and Barrel.  My client loves the uniqueness of this table and all the rustic and sleek features.  Wanting to know the artistry behind the piece and the work that went into creating it, he decided to hire me to take on the job.  So glad he did! ;)  The table pictured below is my "inspiration piece", the Paloma ll Dining Table from Crate and Barrel.

I decided to start with the legs first.  As you can see, they are column like bases, with a stacked wood look.  FYI, My hubby and I are tackling this one together!  This job requires a lot of time with our table saw, and I'm scared out of my mind that I will cut my fingers off not that experienced with a table saw.  So I just stand on the other end and help keep things level ;).  
I started with a 3/4" Plywood to build the core of the base.  Gluing all the seams, and nailing everything into place was first. 


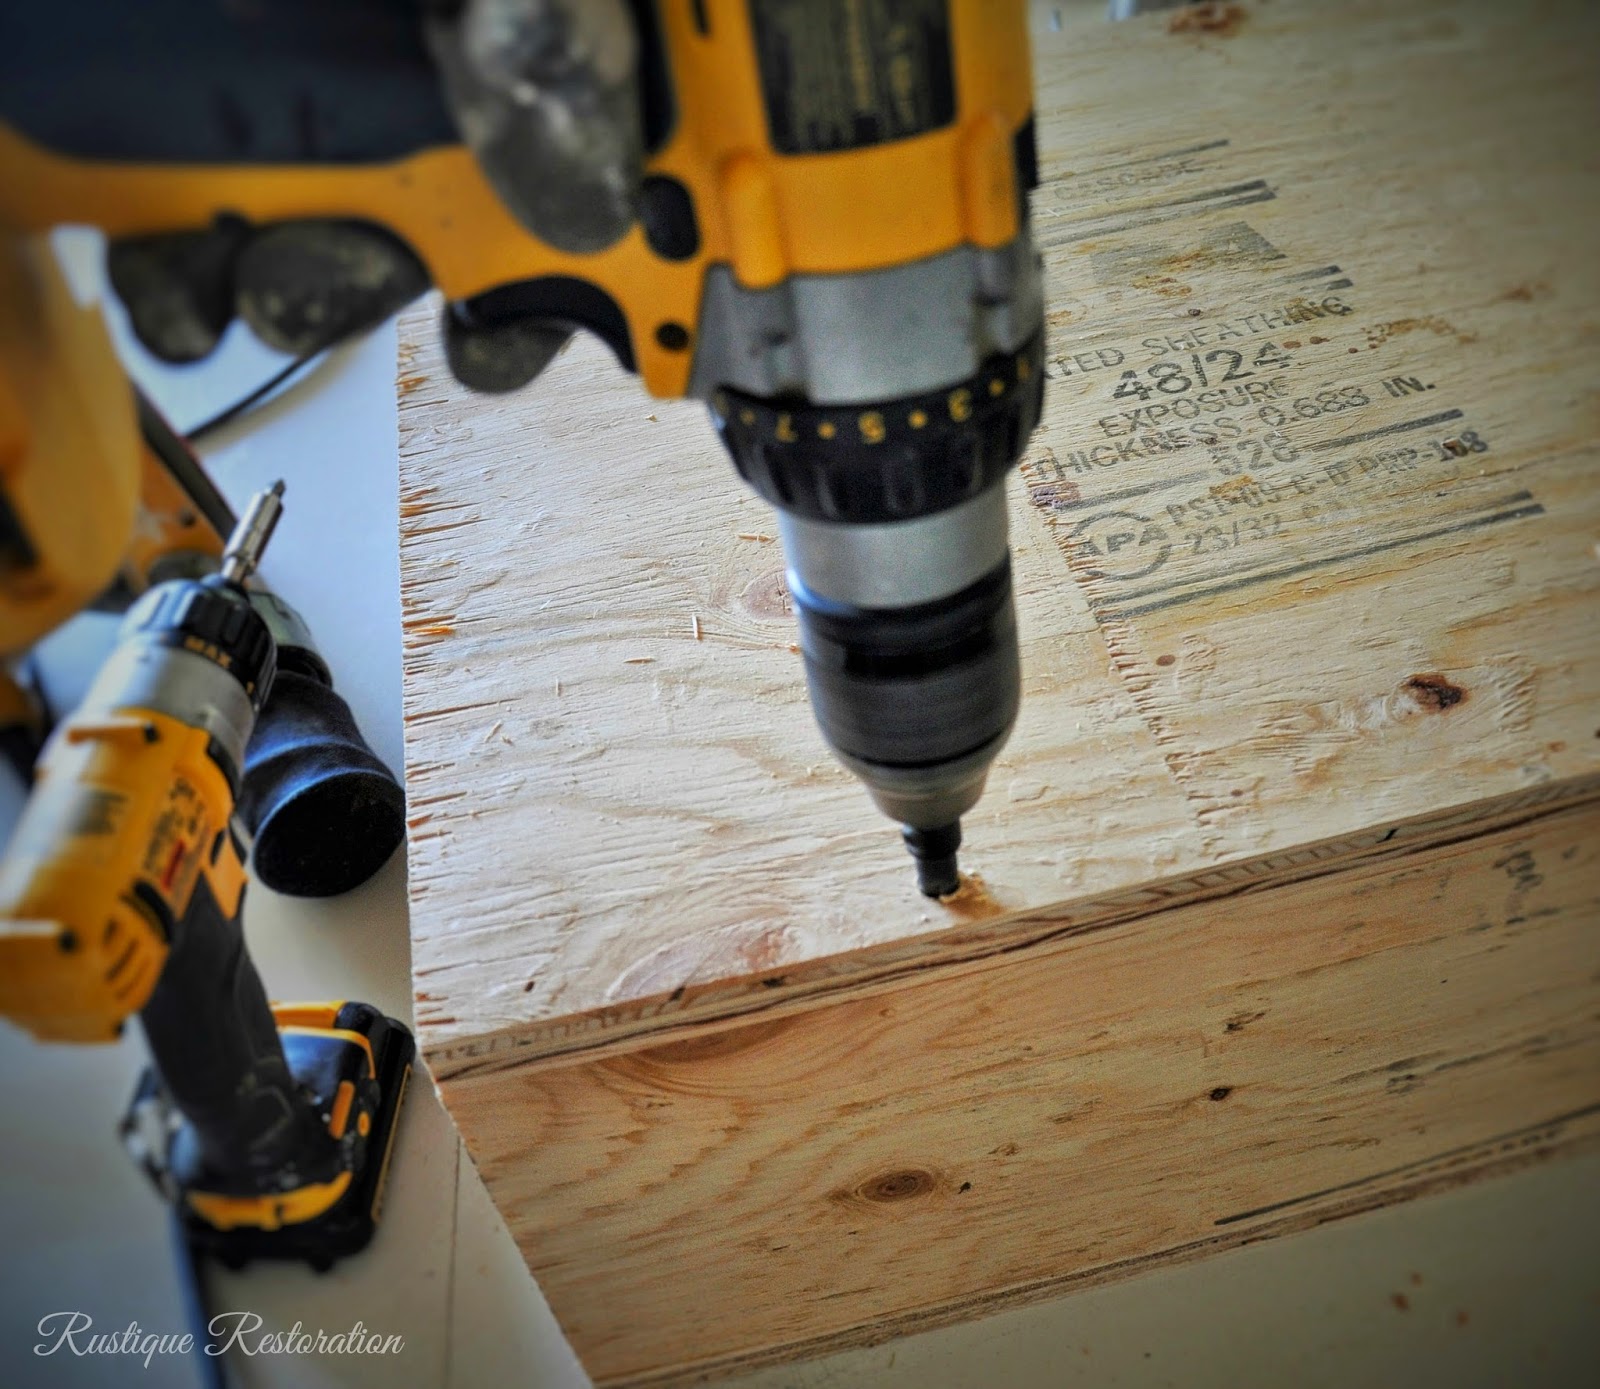
Next I made my pilot holes with my counter sink drill bit, and then screwed the sides together to reinforce the nails and glue.


Here's my hubby using the table saw.  

After the boxes were built, I wrapped them with 1/4" hardwood planks at 3"wide.  These were glued first, and then nailed on.


As soon as they were planked, I moved right onto the staining process!  I love this part!  I started with a coat of Minwax Weathered Oak, and finished with a coat of Minwax Povencial.  This combination gives the piece that weathered, time worn look, yet at the same time allowing it to look warm and modern.


  Here you can see the layers...


So there is a days work!  Tomorrow we will be adding the wood that stacks up horizontally on these legs.  I can't wait!  I will post an update soon!

----------------------------------------------------------------------

So I decided to just post the update of the progress of this table on this post.  So here are the rest of the pictures!


 To see the finished table, click here!

Thanks for stopping by.  Have a great week!

xo Jen