Showing posts with label Handmade custom furniture. Show all posts

Tuesday, February 3, 2015

A Custom Bookshelf Makeover

Today I'm sharing my latest makeover!  I've had this bookcase in my garage for over a year now, and finally decided it was time for her overhaul! 

It's not like it started out that bad, but I saw a lot more potential.  Plus any excuse to make sometime more my own always sounds good to me.  So this piece was custom built out of alder wood.  It has some lovey moldings to start with, and also features adjustable shelves.
I didn't get a picture of the shelves, but they were just your standard 3/4" thick shelves.  I personally love a more beefed up look ;)  So I ran the shelves through my table saw and then pin nailed an 1 1/2" self edge to the fronts.  So now the shelves look double the size and this was honestly so simple to do.  I must admit, this was my first time using the table saw, all by myself, with no one around... I felt like such a big girl! haha.  I just get nervous using that tool.  Probably because everyone that has one has told me not to cut my fingers off.  Way to freak me out people!

After my shelves were complete, I decided I wanted an applique on here somewhere, so I simply just cut a 1x4 piece of pine to size, and pocket holed it into the top and sides.  I applied wood glue as well for extra strength.  Next I simply glued my applique on, and used my micro nail gun to secure it.  Walla!  Now we're talkin!

I gave the whole thing a few coats of a gorgeous creamy white paint, did some distressing and sealed her up!


Have you done some fun makeovers recently?  I love making new creations out of boring things!  Thanks for stopping by and have a great week!

xo Jen

Sunday, January 11, 2015

French Country Farmhouse Table and Decor

 Today I'm sharing my latest restored farm table set, along with all the little French Country tableware's and decor. I don't know about you, but by January 1st, I'm ready for spring and summer!  I'm just a sunshine weather kind of girl.  The cold, dark winter days are just not on my favorite things list. ;)  But don't worry, I do realize I have a few more months of winter! 


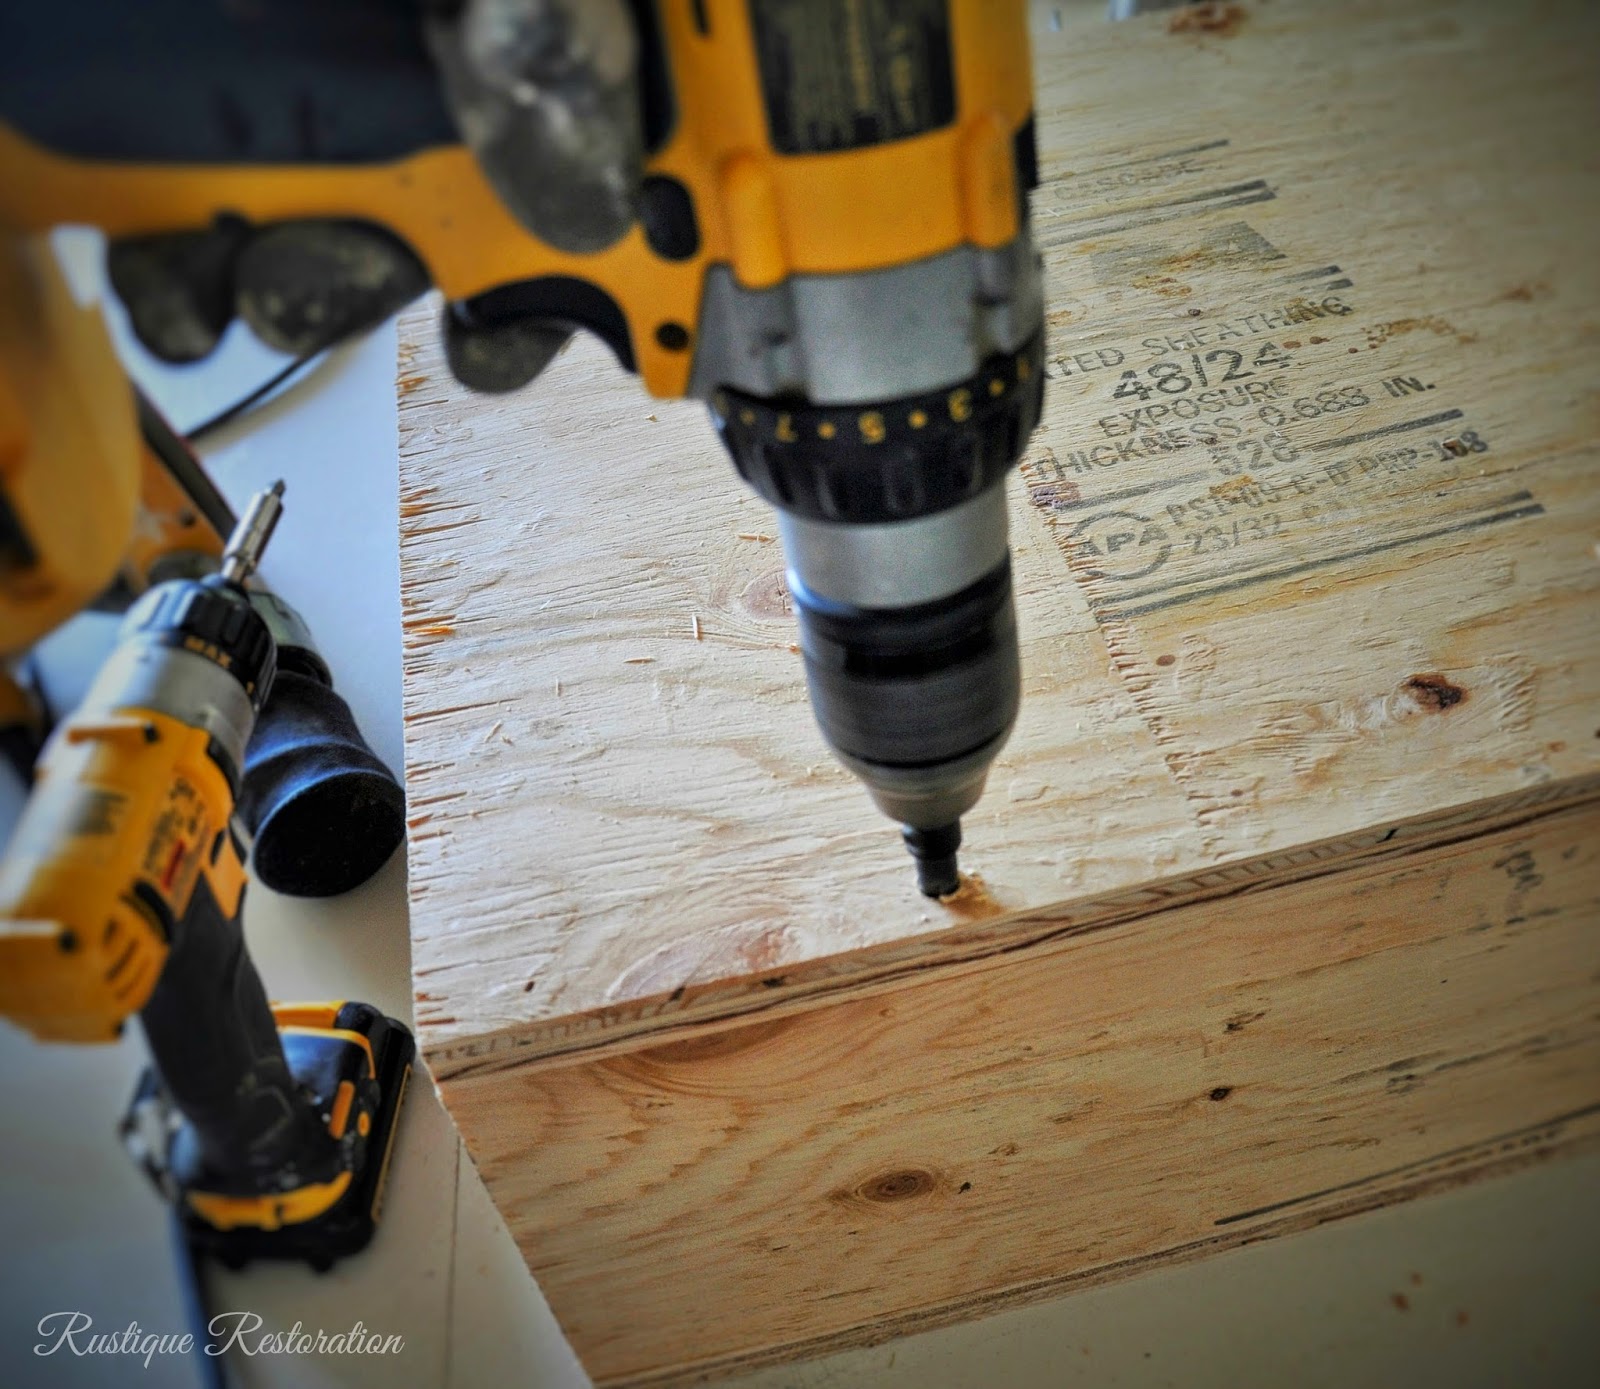
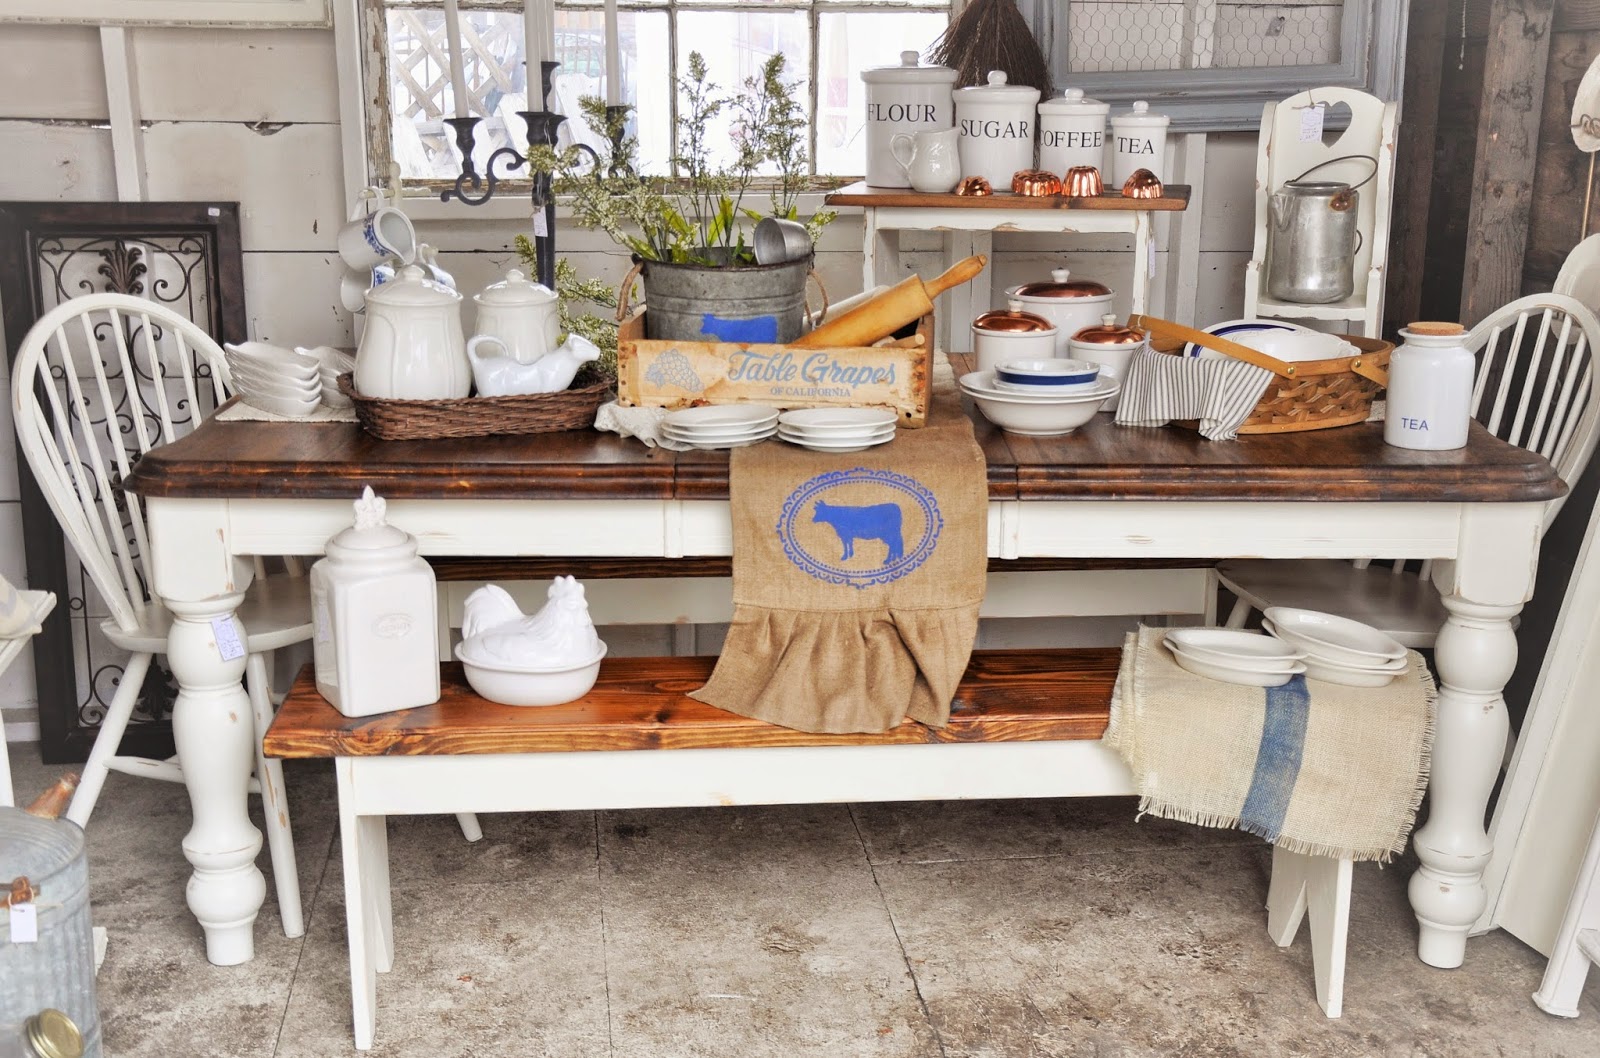
I wanted to give this farm table a rich country look, so I stained the top in one of my favorite chocolatey browns, called Provincial. (by Minwax).  I actually gave the top two coats of stain for a deeper, darker color.  I finished the top of the table and the benches with a wipe on Polyurethane.  The base of the table, benches, and the chairs are painted in the usual color of my choice, Vintage by Valspar.  I pick this up at Lowes.  It's just the perfect creamy white paint color.

 I built two of my custom Vintage Benches to go with the table.  If you ask me, a farmhouse table always has to have at least one bench! :)


With all of this cold and dreary weather, I decided to brighten things up a bit at my shop.  I wanted a lot of white of course, and just enough blue!  
 
 Below, I used an old tin bucket to hold some greenery and vintage utensils.  I stencil painted a blue farm cow on the front, and then drilled two holes on each side so I could add the rope handles.  I love this little bucket now!


When rummaging through things at a vintage shop last week, I found this really neat little fruit crate.  Table Grapes of California. It has warm wood tones, and BLUE writing!  Perfect for my table scape!  This crate was actually the inspiration for the whole look.  I found two of these, so I decided to keep one for myself :) 


 When creating a display at the shop, I try to build up as much as possible to create height and more display space.  So I built this mini farmhouse bench using scrap wood from my workshop, and finished it to match the table.  I think it turned out adorable and I'm definitely going to be making more of these.  I may try all sorts of fun colors too.


I threw in a few copper accents and these really cool French canisters with copper lids.  These are some of my favorites!  And then there are the white canisters with the black label writing on them.  This set is available in my Etsy Shop.


 I came across a couple of cute wooden chairs this past week as well.  One I left the original stained color, and the other I painted in a vintage creamy white and distressed it.  I threw in some blue and white ticking stripe, and whatever dishes I could find with that gorgeous blue patina.


 And then there is the burlap table runner with the blue farmhouse cow.  I am in love with this runner!  I will definitely be making more of these and listing them in my Etsy Shop as well.  If this is something you're interested in ordering ahead of time, feel free to contact me via email!


 And what's a French Country table scape without a little white cow creamer?  I just LOVE these cow creamers.  I get all giddy when I come across one!


  The bowl tucked under the rest that has the sweet blue flowers on it is from France.. Just love it!


 So there you have it.  My French Country Farmhouse table and decor.  I'm in love, and I hope you had fun looking at my gallery of pictures!  There were a lot!  Have a wonderful rest of your weekend and a great week!  Thank you as always for stopping by!

xo Jen

Linking up at:
Miss Mustard Seed 


Wednesday, September 17, 2014

A Custom Table Commission, Getting Started

I have been commissioned to build this gorgeous table originally made by Crate and Barrel.  My client loves the uniqueness of this table and all the rustic and sleek features.  Wanting to know the artistry behind the piece and the work that went into creating it, he decided to hire me to take on the job.  So glad he did! ;)  The table pictured below is my "inspiration piece", the Paloma ll Dining Table from Crate and Barrel.

I decided to start with the legs first.  As you can see, they are column like bases, with a stacked wood look.  FYI, My hubby and I are tackling this one together!  This job requires a lot of time with our table saw, and I'm scared out of my mind that I will cut my fingers off not that experienced with a table saw.  So I just stand on the other end and help keep things level ;).  
I started with a 3/4" Plywood to build the core of the base.  Gluing all the seams, and nailing everything into place was first. 


Next I made my pilot holes with my counter sink drill bit, and then screwed the sides together to reinforce the nails and glue.


Here's my hubby using the table saw.  

After the boxes were built, I wrapped them with 1/4" hardwood planks at 3"wide.  These were glued first, and then nailed on.


As soon as they were planked, I moved right onto the staining process!  I love this part!  I started with a coat of Minwax Weathered Oak, and finished with a coat of Minwax Povencial.  This combination gives the piece that weathered, time worn look, yet at the same time allowing it to look warm and modern.


  Here you can see the layers...


So there is a days work!  Tomorrow we will be adding the wood that stacks up horizontally on these legs.  I can't wait!  I will post an update soon!

----------------------------------------------------------------------

So I decided to just post the update of the progress of this table on this post.  So here are the rest of the pictures!


 To see the finished table, click here!

Thanks for stopping by.  Have a great week!

xo Jen