Tuesday, March 11, 2014

Gorgeous French Country Hutch Makeover

 I recently finished this gorgeous hutch for a friend of ours.  She picked out a really beautiful blue for the body of this piece, and a creamy white interior.  The hutch started out as a neutral colored honey brown, which honestly looked great like that too, but they were wanting a fresh new look for their new place, and I LOVE how it evolved into this timeless piece of furniture.


After removing every piece of hardware, I painted two coats of the blue, and three coats of the cream inside the top of the hutch.  Once I was all finished with that, I glazed it.  So when I glaze something, I first spray one coat of lacquer on the whole piece, and then I mix a little paint and a little water.  You want the consistency to be similar to the consistency of stain.  It's pretty watered down. Next, I apply a coat of the mixture to one surface at a time using a foam brush, making sure to get into all of the cracks and crevices. This is where the glaze will sit once you wipe it off.


 After I have my surface covered, I grab a clean, slightly damp cloth, and start to wipe it off.  It won't all come off, but most of it will.  This is kind of trial and error process and it can go so many different ways.. So I recommend playing around on a couple sample boards before you actually glaze your piece.


Here is what it looks like after wiping most of it away.  All the dents, cracks, and seams catch the glaze.


We decided to leave the inside of the bottom the original stain. 


Well, there you have it.  A beautiful makeover, and a new timeless piece of furniture.  Thanks for stopping by and have a blessed day! xo

Jen

Linking up at:

Sunday, March 9, 2014

Antique Vanity Makeover

This piece caught my eye from across the room at a farmers market.  I had to have it!  I could see it creamy white and distressed a little.. aww... if only it were that simple!

So I sanded and started to paint, and not long after the first coat, I was seeing pink!  The stain was bleeding through!!  Have you ever had this problem?  This was a first for me.  I painted a second coat, and then a third, and finally at my whits end, I ran to the store for help.  {well, technically I drove ;)}  I was recommended Kilz, a stain blocker, but it didn't work.  The pink was STILL there!  So I walked away for a few weeks, and when I had finally let some of my frustration simmer down a little, I sought advice again.  This time I was told to Shellac it, and thank you Lord, it worked!  Once I coated the vanity with two coats of Shellac, it was smooth sailing.. And I LOVE this vanity!  It turned out just as I wanted and had visioned.


 I made a quick decision to paint the hardware.  As soon as I started to paint over them, I second guessed myself and thought, OH NO!  What did I do?!  But I just rolled with it and I actually really like how they turned out.  I painted a layer of turquoise and then a top coat of the same creamy white.  Distressed them a little and and walla.  It gives the vanity a tiny pop of color, but it's still really soft and beautiful.


 I thought I'd share this little staging job, done by the hubby. :)  I love a man who loves the Lord, and wants to share it with others! 

 And I couldn't leave out my little helper yesterday!  Admiring herself in the new vanity ;)  Love my little girl!


Well, someone loved this piece as much as I did because it was there and loaded and gone in twenty minutes!!  That's a record for me! :)  Now I have to get working on something to take it's place!  Stay tuned for the next fun and original piece!  Thanks for stopping by and I hope you have a blessed Sunday! xo

Jen

Thursday, March 6, 2014

Cute Shabby Bench Made with an Old Headboard

I just finished up this adorable little bench today.  I started with an old twin headboard that I picked up for ten bucks at a thrift store yesterday.  I love a good deal! :)


I had some scrap pieces of wood laying around from all my other projects, so I dug through to see if I could come up with something for my vision.  I ended up with a 4x4 post, two 1x8x6 boards, and one 1x4 scrap.  So I did some measuring {this usually makes my brain hurt!}, and made some cuts {this usually makes my hubby's brain hurt} haha, and got building!  I simply made a skirt for the bench with the 1 x 4 material, using my pocket hole set.  And then, there was glue... and screws... and sanding... and painting.. that was the long story short ;)


I painted this bench in the usual.. Vintage by Valspar, which I get at Lowes.  I always finish my furniture with a good lacquer.  I love Deft in Satin.  I get that at Home Depot.


I hope you're having a lovely week!  Thanks for stopping by to check out my headboard bench!! xo 

Jen

Wednesday, February 26, 2014

Makeover-Sneak Peek!!

I have been working on a custom piece for the past couple weeks and I am SO close to having it finished.  I just wanted to share a little piece of it!  Look for the reveal post either tomorrow or Friday!

Have a great day!! xo

Jen


Sunday, February 16, 2014

Chippy White Farmhouse Hutch

Hello, I hope everyone has had a lovely weekend!  Mine was awesome!  Great times with family and good friends.. It's moments like the ones we had this weekend that make life worth living and show us how truly blessed we are.

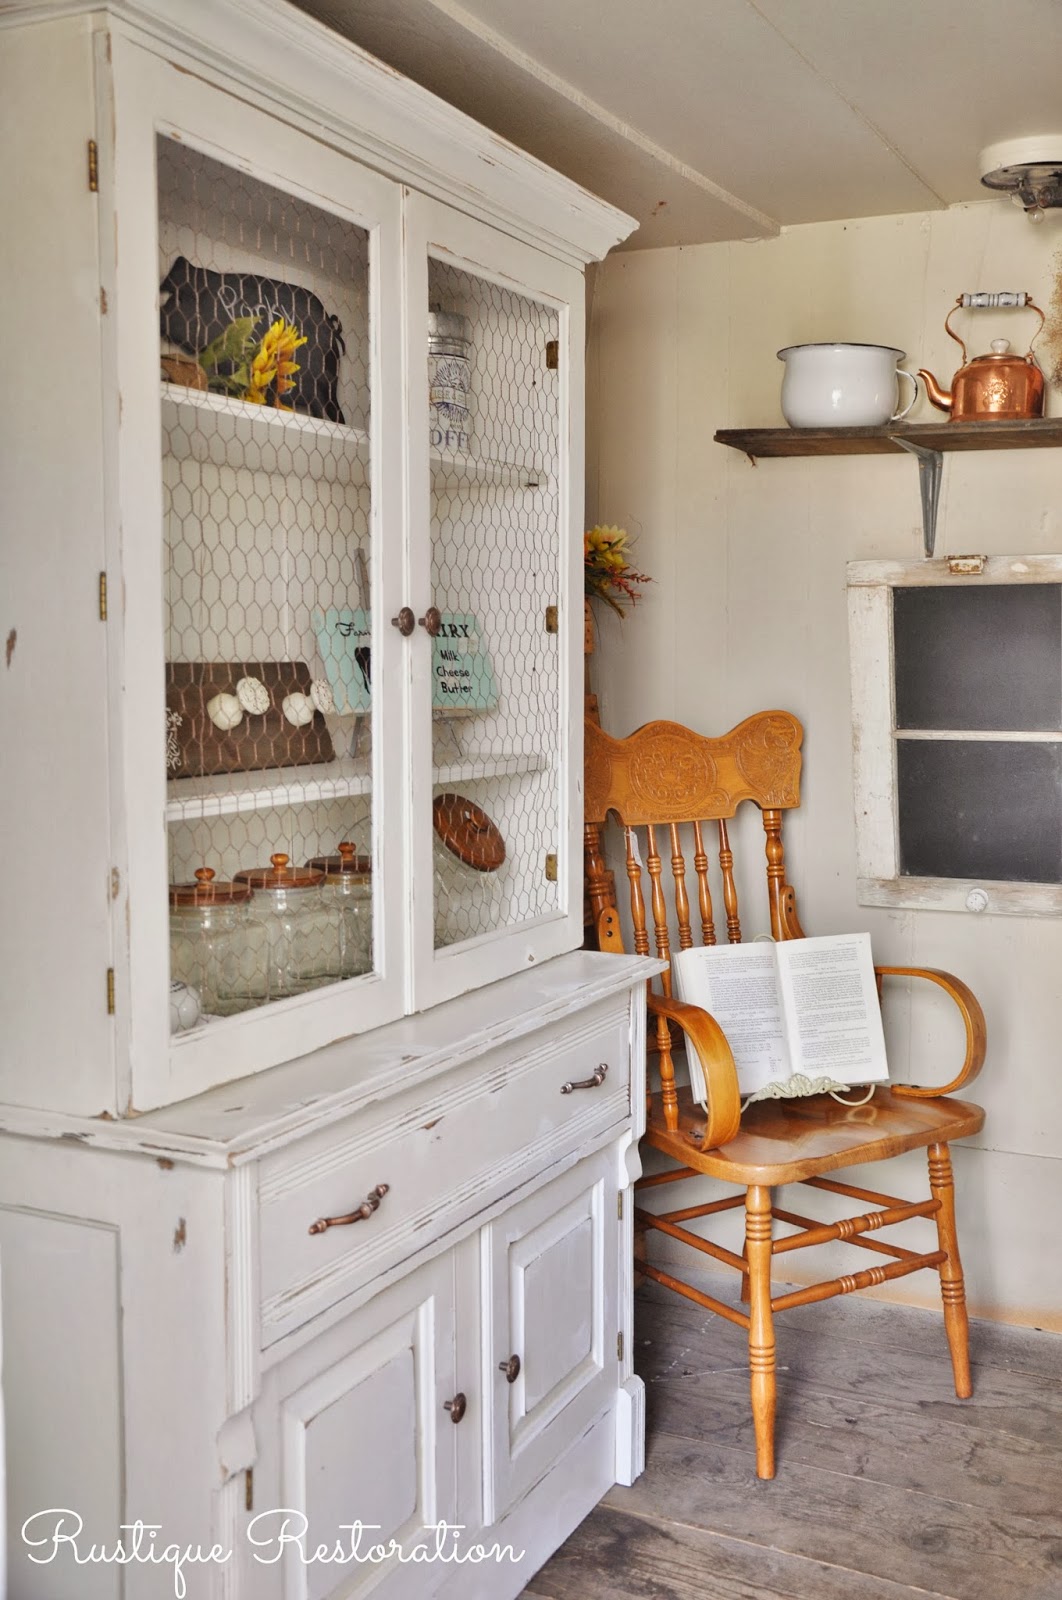
I just finished up this adorable hutch today.  I've had it sitting in my living room off of the kitchen for the past couple months, and finally finished it up.  This piece is solid wood.  It was a custom built hutch, sporting inset doors and a drawer, and all sorts of charming character!  It's painted white and distressed for a slightly chippy look.  


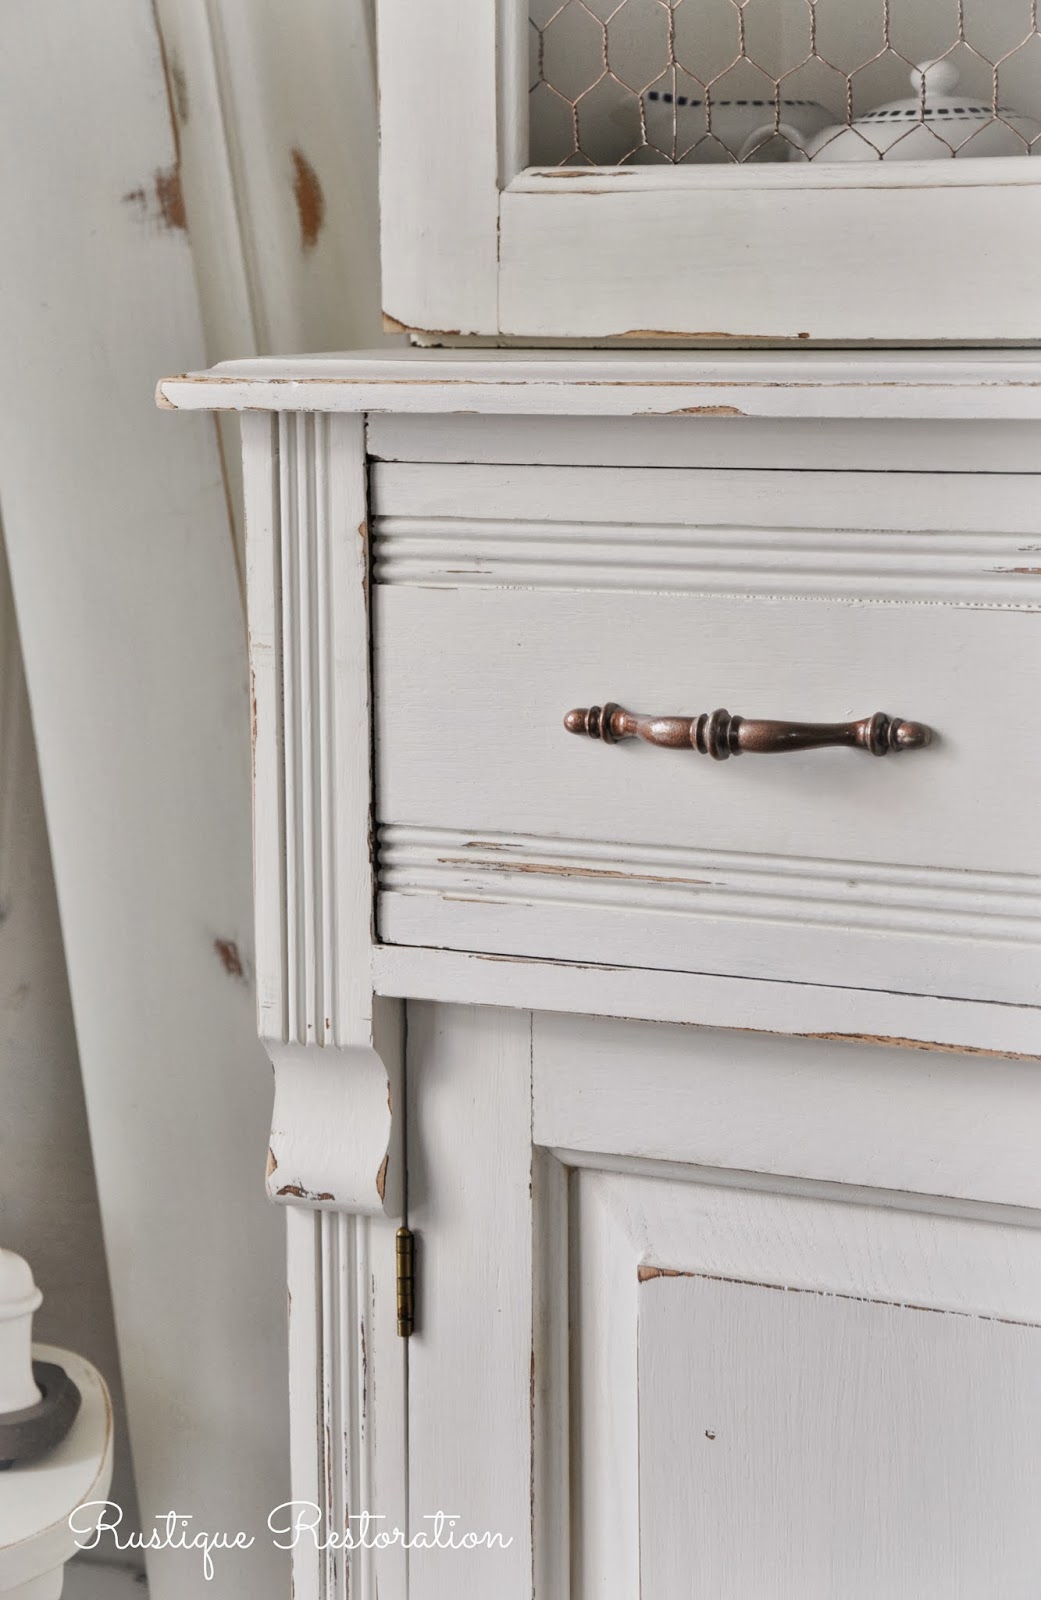
I added some chicken wire to the doors.  First I sprayed the chicken wire with a couple layers of Rustoleum in Hammered Copper and Brown.  I love how it instantly ages the chicken wire!  I did this same treatment to the hardware.. You can see the hammered effect a couple pictures down.


I think it's pretty obvious that I love all things white and farmhouse!!  I'm just drawn to them.. I can't wait to show you a vanity I'm currently working on.. it's gorgeous!  Just takin my sweet time with it.  I hope to have it finished soon and will post as soon as it is. Thank you for stopping by.  Have a great week! xo

Tuesday, February 11, 2014

Reclaimed Wood Shelves and White Dishware!

So my husband and I built these reclaimed wood shelves over the weekend.  We used some old fencing that was given to us from a friend, and I LOVE how it came together.  My thought was to build something to display all of the beautiful white dishes I have for sale at my shop.  Don't they look so pretty against that dark aged wood?


These are two of my greatest loves!  Aged wood with a gorgeous patina and white dishes!  Some old, some new.. doesn't really matter to me.. I love a mix on my shelves!


 I'm a sucker for platters.. each one I find has a different feeling and character of its own.
Yes.. Platters have feeling don't they?! Ha!

  Throw in an old linen and add instant vintage charm.


So this really was the easiest set of shelves to build!  Here is a list of the materials we used, and a general idea on how we put it together.

Sides:  (2) 6" fencing boards
Back:  (9) 6" fencing boards
Middle Shelf Support:  (1) 2x4, cut down into two pieces the length of your sides
Shelves and Top:  (4) 1x12 boards, cut to the length of your shelves 
Wood Stain:  Similar in color to your old fencing

Keep in mind that when you're using old fencing, you already have 2x4 support for the top and bottom shelf from when it was used to keep the fence together.  So you only have to add support for your middle shelf. The rest is already there.  I stained the new pieces of 2x4 with Mixwax in Jacobean. It matched perfectly!  My shelves were already aged from laying out in my side yard.  But if you have to purchase new boards, just find a stain that matches close to your fencing.  And keep in mind that it doesn't have to be perfect.. this is an aged piece with rustic character!  We used large 2" wood screws to hold it all together.  Well, that's it!  Pretty simple.  I'm sorry I didn't get some pictures of the process, but once you lay out your materials, you'll see how it all comes together.  Good luck!!

So while I've got you here, I would love to share a couple quick pictures of my shop.  It's been awhile :)


Until next time, have a wonderful day!!  Thanks for stopping by, and questions and comments are ALWAYS welcome and appreciated!