Showing posts with label idaho. Show all posts

Saturday, March 10, 2018

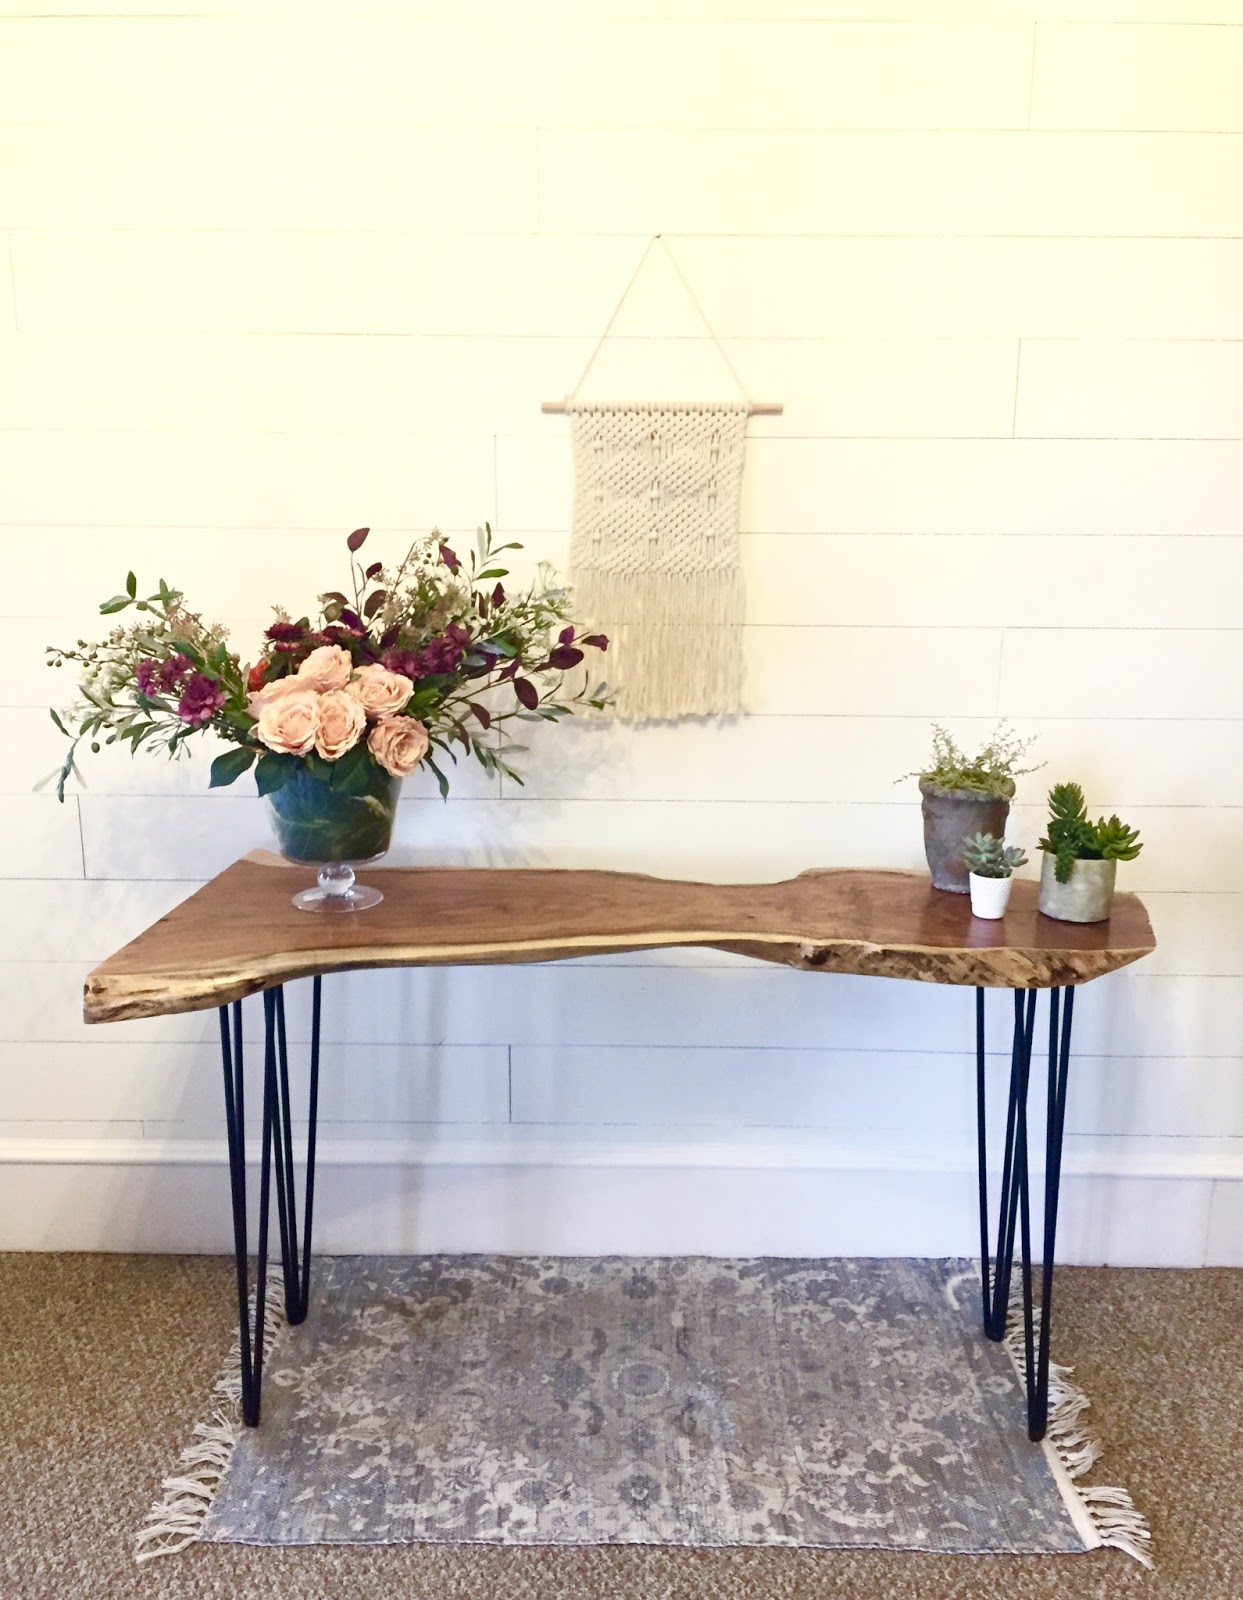
Live Edge Walnut Console Table

I'm jumping on here to say hello, and share a couple things I've been up to lately.  I recently purchased seven live edge slabs of wood.  I don't know about you, but I'm totally on the live edge furniture lover train!

So far, I've built a Console Table and a Coffee Table.  Both of them have matt black steel hair pin legs.  These legs give the tables a sleek modern look, and really allow the unique wood slab tops to shine.  


For the console table, I started by removing all of the lose bark with a chisel.  I do think that the live edge tables with bark are really cool, so I'm going to try and leave some on the table then next time I make one.  The only problem is that there is a lot of dirt and lose material, so it can be more tedious to clean it, than to just remove it.  


Once the bark was off, I used a low grit sanding paper, and sanded down all of the rough wood with my belt sander.  From there, I just started to increase my grits until I reached a 150 grit on my belt sander, and then I moved on with my palm sander.  I started with 150 grit, and moved through to 180 and finished with a 220 grit.  The walnut is already a nice hardwood, so 220 on this is just gorgeous!  


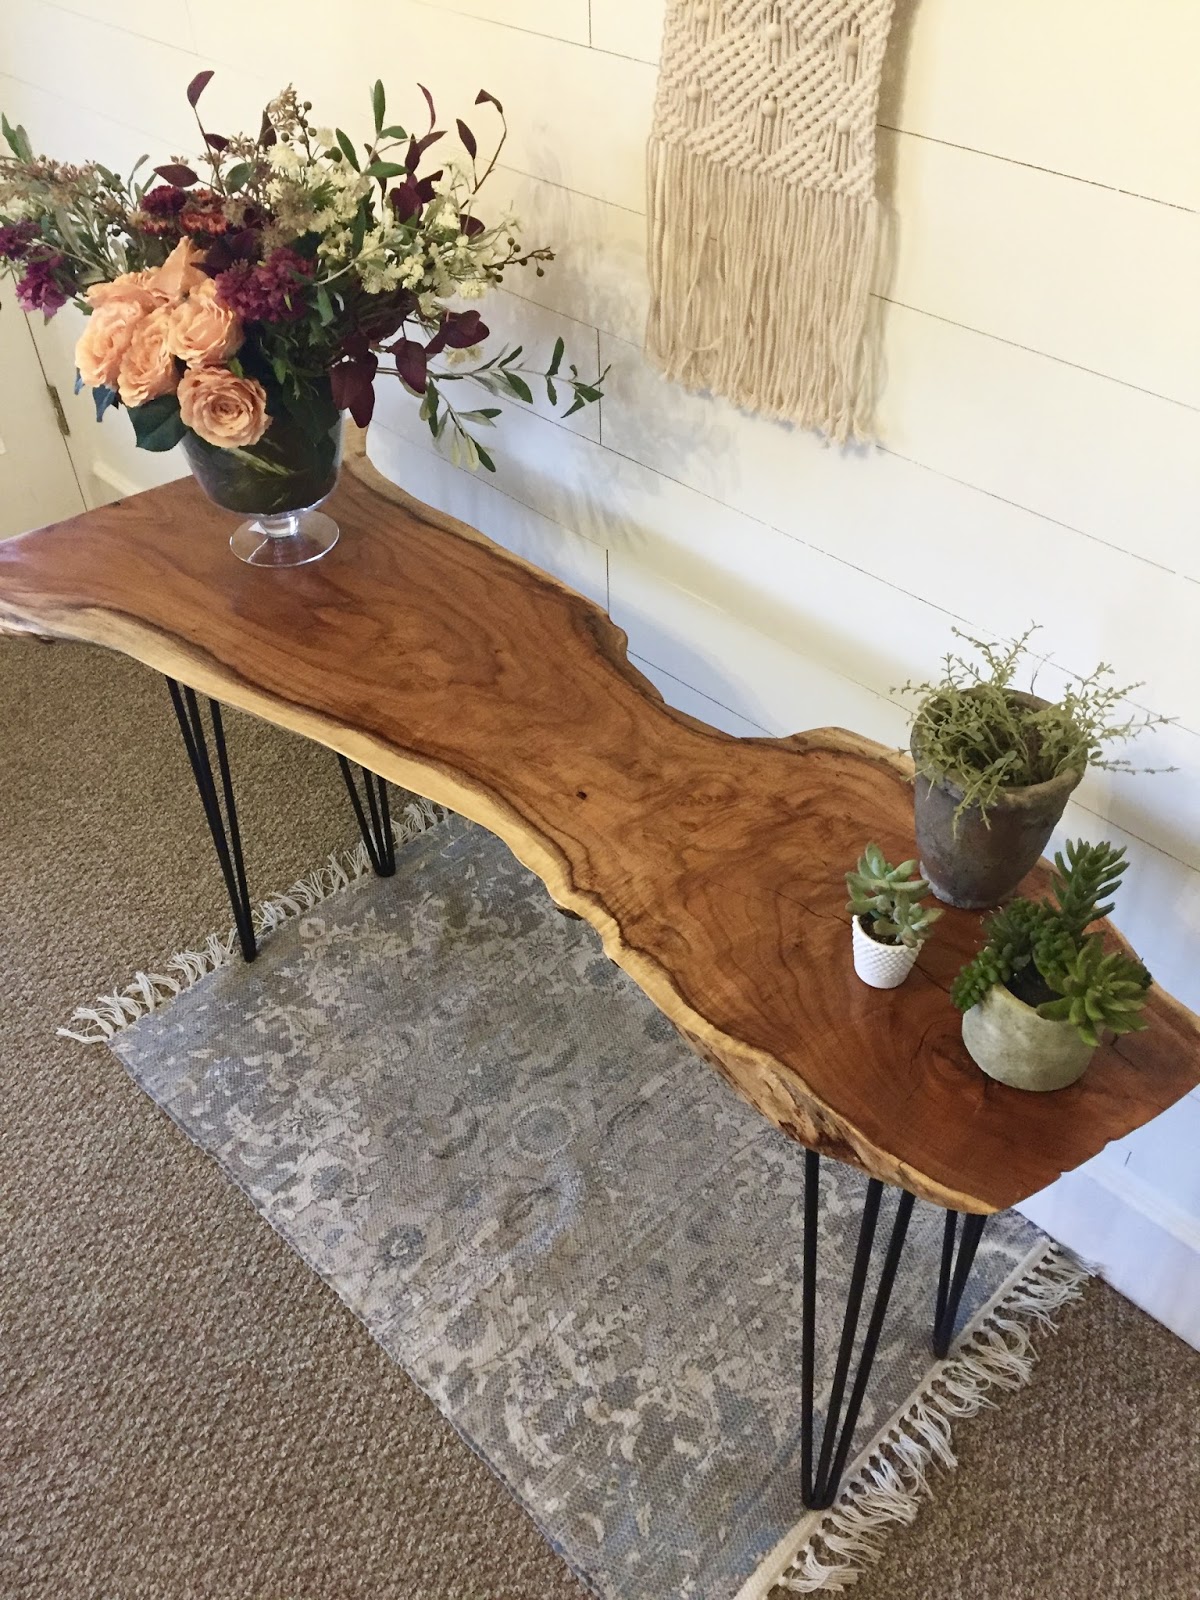
 This is what the slab looked like with just one coat of satin Polyurethane!  Already gorgeous!


I wiped on a total of three coats.  And I couldn't be happier with this beauty!  I purchased matte black hair pin legs to give the table that sleek midcentury modern look!


I did all of these same steps for the coffee table!  I love them both and seriously cannot wait to make the rest of my slabs into gorgeous furniture! 


Thanks for visiting here today!  I hope you enjoyed the photos and learning about the process!  I love live edge furniture!  Are you crazy about it as well?  Have you ever made anything out of it, or want to try it?  I would encourage you to!  No one else out there will have the same piece as you!  It will be a true one of a kind piece of furniture!

If you're not the woodworking type and would like to discuss having a custom built piece made, please email me at rustiquerestoration@gmail.com.

I hope you have an awesome day!  Thanks for stopping by!

xo Jen

Monday, September 4, 2017

Horse Saddle Barstools

Oh my goodness!  It has been way too long since I posted one of my projects!  I'm hoping to get back on track and share all of the awesome things going on in my life.  It's been a crazy but GREAT year, and I will be writing all about it soon.
Today, I'm sharing a custom project I just finished up for one of my clients.  They brought me two saddles that their now grown sons used when they were small boys.  The idea was to create bar stools for the saddles to rest on.  


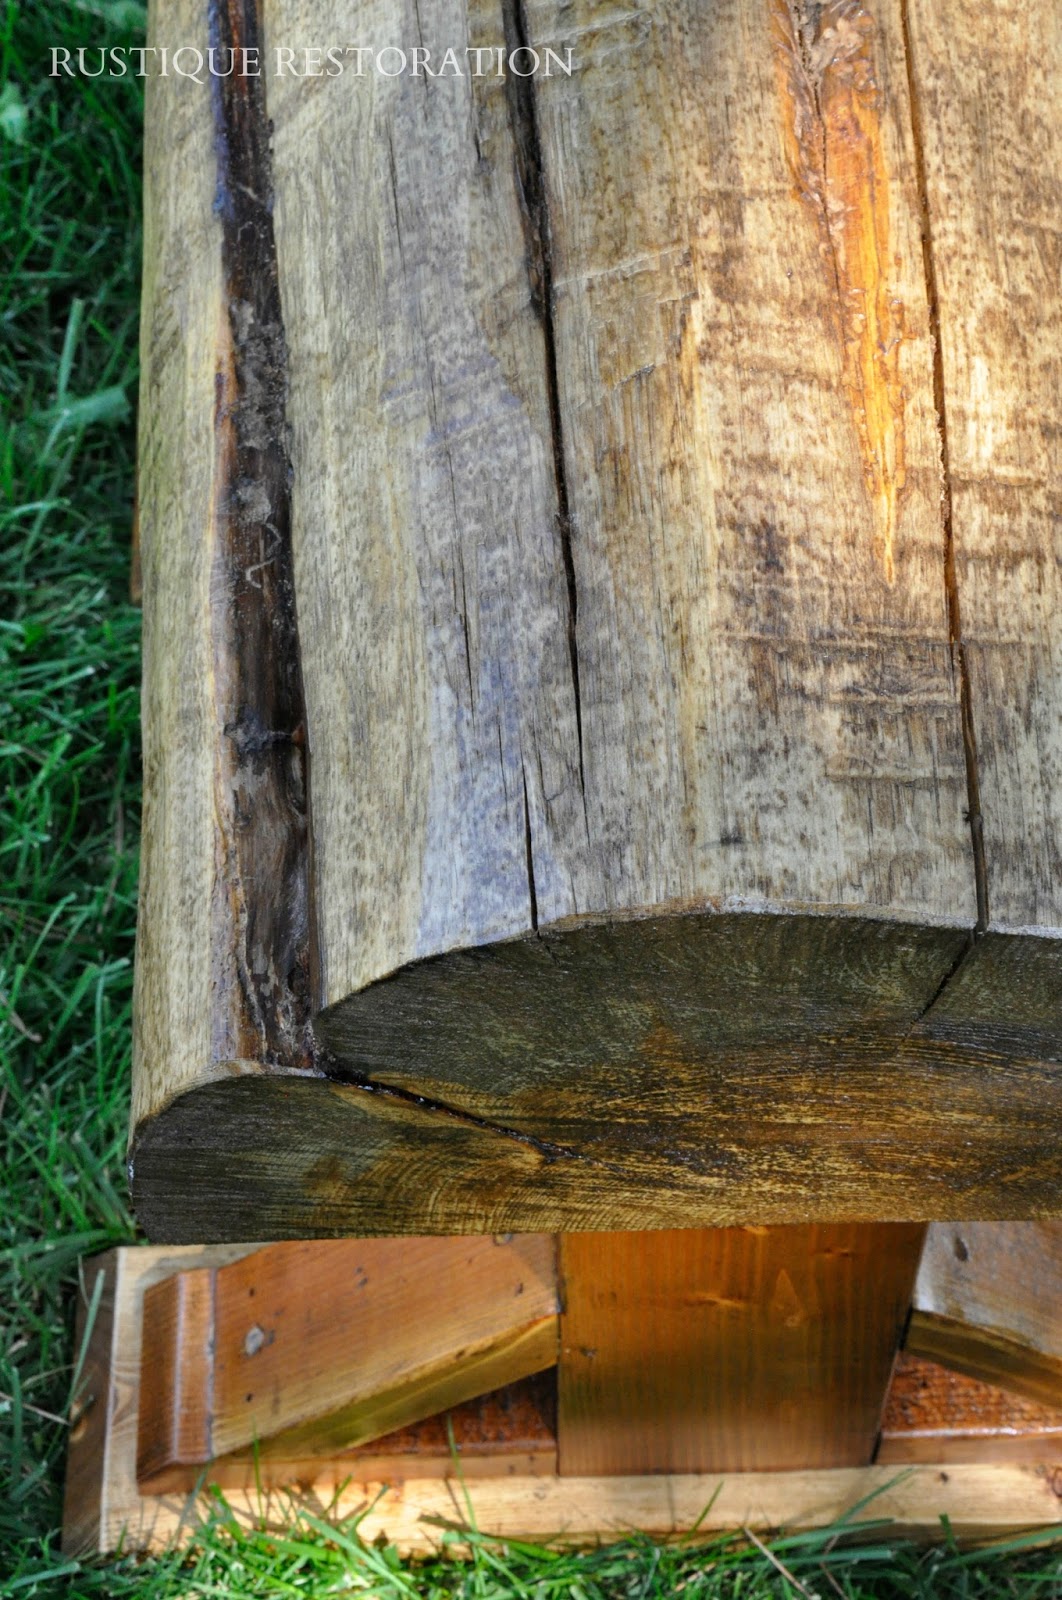
I decided to use half round logs for the saddles to fit nicely over.  Then I created two pedestal style legs for each stool.  These stools are STURDY!  
I started by making a custom cut list, and then went ahead and cut all my pieces.  I decided to angle all of my edges for a nice transition from one piece to the other.  I love how it turned out!


These stools are so fun and will be a great way to display the saddles that made so many memories years ago.


I couldn't post these stools with out a little model to show you how they work.  Scarlett was perfect for the job!  Several times while I was in the process of building and finishing these, she had to test them out.  She would say, "Scarlett's turn!" "horsee".  


Well, as always, thank you for reading and come back soon for my next post!  I have a lot to share!

xo 
Jen


Monday, October 26, 2015

Mahogany Writing Desk and Custom File Cabinets


This summer my hubby and I teamed up to build this custom job for my client.  Everything is built out of gorgeous Mahogany wood.  My client had four black file drawers that he wanted to have faced with wood to look more sophisticated for his new office space in one of the historic Jefferson buildings in downtown Boise.  So my hubby and I designed a cabinet to house two file drawer units, with shaker style drawer fronts and face frames.  

This was my first time building cabinet doors!  It was actually fun and once I built a couple, I got pretty quick at it and really enjoyed it. 
  

Everything got a coat of Mahogany stain, and then one coat of Ebony.  These two pictures are before the Ebony.


The corner desk and file cabinets had to be installed before we could build our top.  The top had to be templated just like you would do with granite.  That gave us the best seams and custom fit.


I love all the huge windows in this office space!  Great views and a really luxurious historical feel to it.

After we had the corner cabinetry installed, we began to build the writing desk.  I designed it with a trestle base, using 5" solid wood posts for the legs.  

We layered the foot of the desk with three pieces in different thicknesses and sizes to add character and make this thing solid and sturdy!  Using a router, I gave the edges a nice beveled detail.


I am so pleased with how this desk turned out!  The Mahogany is so rich and has a gorgeous grain to it.


We built a pencil drawer too.  Love the contract between the stained and the natural inside.


This entire project was sealed with six coats of satin Polyurethane to give it a long lasting protection.  

We wrapped this project up just three weeks prior to my due date.  Several late nights turned early mornings trying to get it done to make the deadline!  It was hard, but we conquered it!  Whew!  Well, I hope you are all having an amazing October!  November is just around the corner.  Have a great week!

xo Jen