Showing posts with label Handmade. Show all posts

Saturday, March 10, 2018

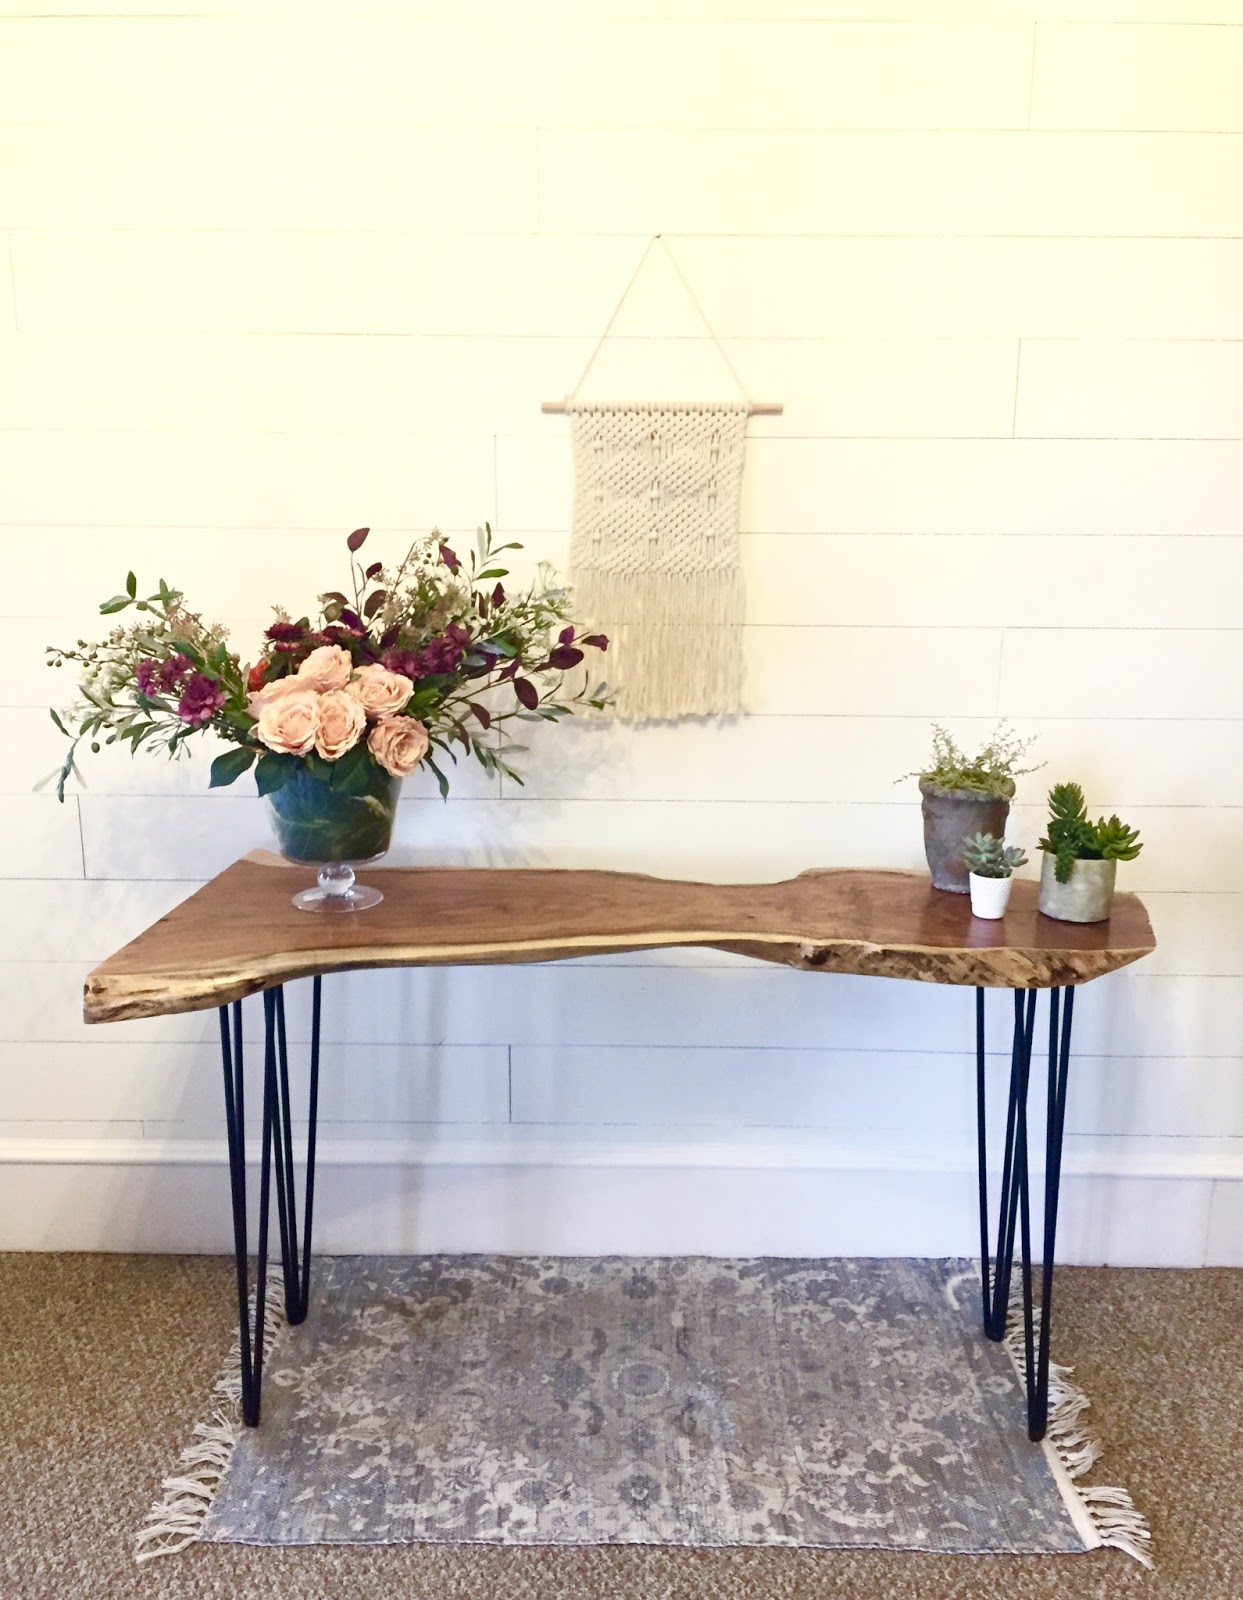
Live Edge Walnut Console Table

I'm jumping on here to say hello, and share a couple things I've been up to lately.  I recently purchased seven live edge slabs of wood.  I don't know about you, but I'm totally on the live edge furniture lover train!

So far, I've built a Console Table and a Coffee Table.  Both of them have matt black steel hair pin legs.  These legs give the tables a sleek modern look, and really allow the unique wood slab tops to shine.  


For the console table, I started by removing all of the lose bark with a chisel.  I do think that the live edge tables with bark are really cool, so I'm going to try and leave some on the table then next time I make one.  The only problem is that there is a lot of dirt and lose material, so it can be more tedious to clean it, than to just remove it.  


Once the bark was off, I used a low grit sanding paper, and sanded down all of the rough wood with my belt sander.  From there, I just started to increase my grits until I reached a 150 grit on my belt sander, and then I moved on with my palm sander.  I started with 150 grit, and moved through to 180 and finished with a 220 grit.  The walnut is already a nice hardwood, so 220 on this is just gorgeous!  


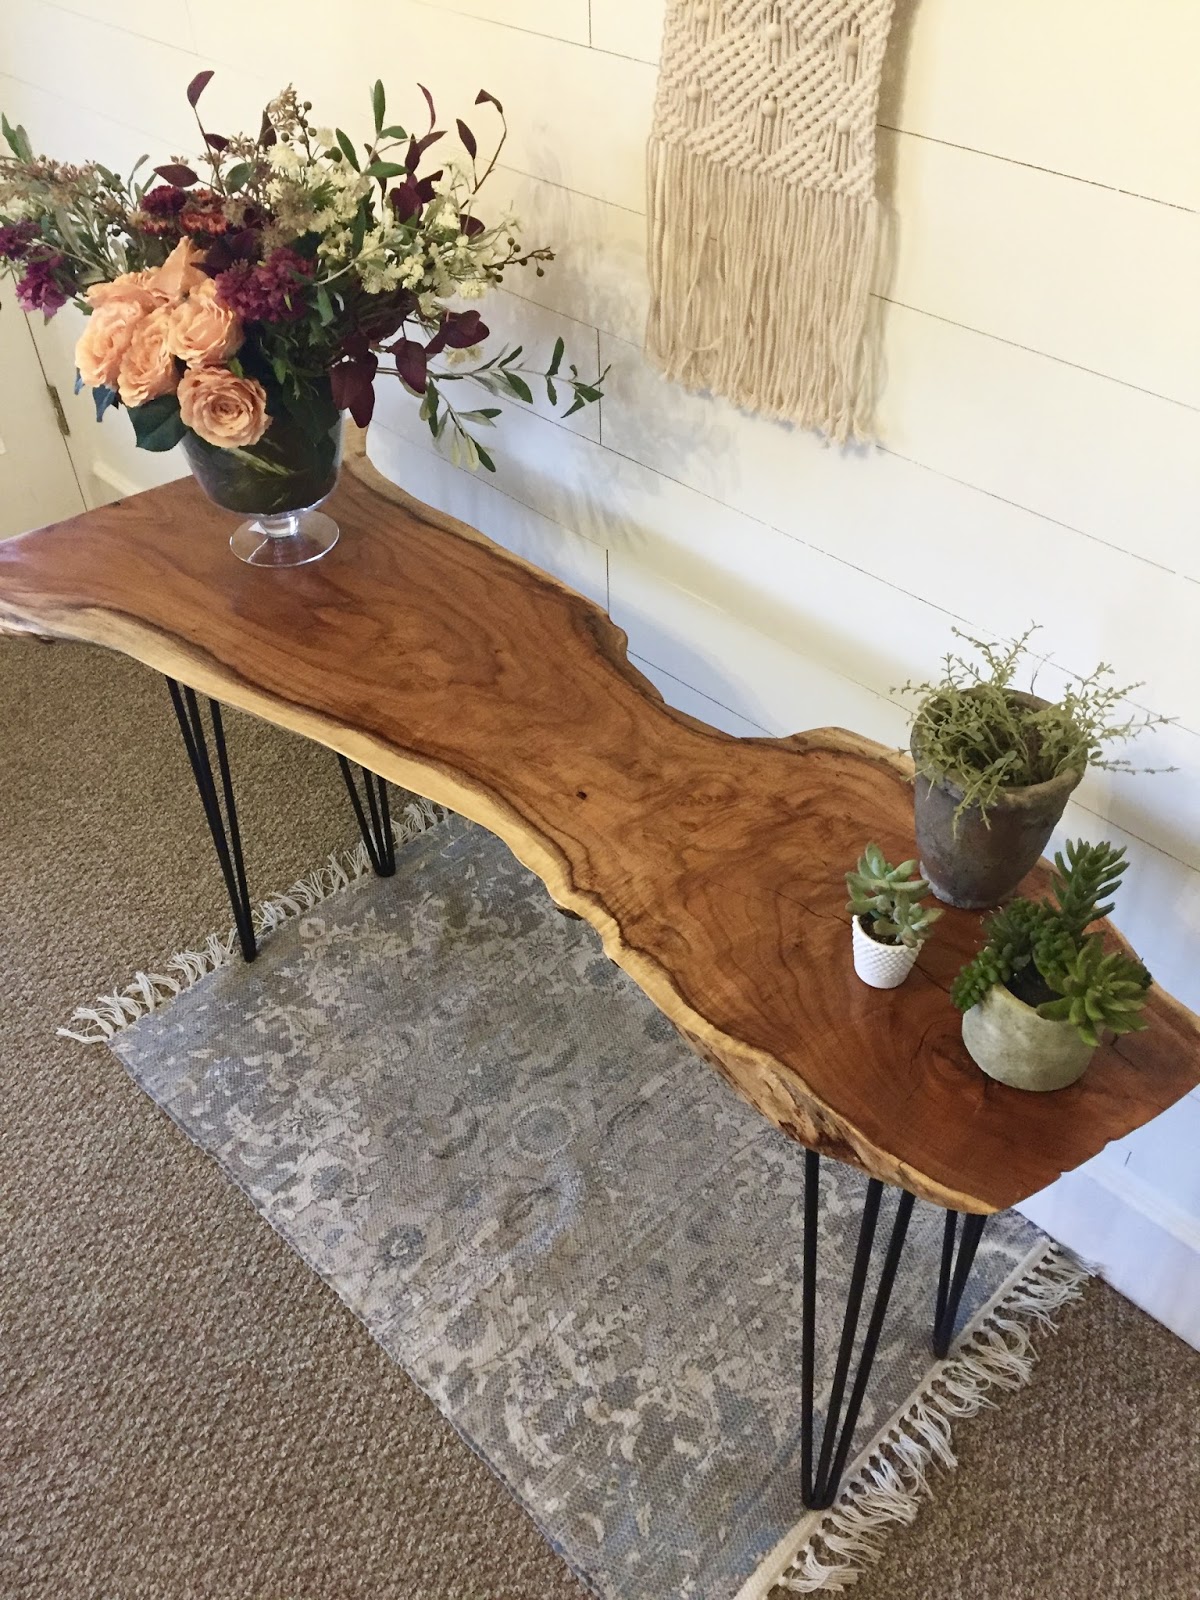
 This is what the slab looked like with just one coat of satin Polyurethane!  Already gorgeous!


I wiped on a total of three coats.  And I couldn't be happier with this beauty!  I purchased matte black hair pin legs to give the table that sleek midcentury modern look!


I did all of these same steps for the coffee table!  I love them both and seriously cannot wait to make the rest of my slabs into gorgeous furniture! 


Thanks for visiting here today!  I hope you enjoyed the photos and learning about the process!  I love live edge furniture!  Are you crazy about it as well?  Have you ever made anything out of it, or want to try it?  I would encourage you to!  No one else out there will have the same piece as you!  It will be a true one of a kind piece of furniture!

If you're not the woodworking type and would like to discuss having a custom built piece made, please email me at rustiquerestoration@gmail.com.

I hope you have an awesome day!  Thanks for stopping by!

xo Jen

Thursday, September 7, 2017

Restored Patio Table

Nice weather means Alfresco dining!  Today I'm sharing with you a fun little project that I took on for one of my clients.

The original table had a glass insert, and while she and her husband were moving it, the glass broke.  Such a bummer.  We bounced several ideas around.  My client wanted something durable, that wouldn't break, and would do well with the weather as well.  Some ideas were to do a tile insert, faux tile vinyl, or wood.  The tile was a no for a couple reasons.  One, it would be heavy, and two, the metal table was slightly flexible, so the grout would break.  The vinyl was a no simply because it would fade in the summer sunlight.  That left us with wood.

I chose a kiln dried redwood for the top.  It turned out so lovely!  

First I secured a piece of plywood to the bottom to allow a place to secure the wood planks.  Using glue and nails, I secured the outer frame of the top.  I chose to miter the corners.  I personally love this look.  Once the frame was built, I secured it to the table and plywood.


Next it was time to lay the planks down and secure.  I screwed the into place from the under side of the table top.  The center plank was run through the table saw and cut to size.  

Once everything was in place, I sanded the whole top, and then stained and sealed it.  The stain color I chose is one of my favorites from MinWax, called Provincial.  It's just a nice warm brown, and one of my main go-to stains.  


Now that everything was sealed, it was time to cut the hole for the umbrella.  Using the circular saw, we were able to cut the perfect hole!  I purchased a plain black plastic grommet to finish the hole off nicely.  And the table was finished!


I think the wood top was the perfect choice for this lakeside cabin!  

Have a great day!

xo Jen

Monday, September 4, 2017

Horse Saddle Barstools

Oh my goodness!  It has been way too long since I posted one of my projects!  I'm hoping to get back on track and share all of the awesome things going on in my life.  It's been a crazy but GREAT year, and I will be writing all about it soon.
Today, I'm sharing a custom project I just finished up for one of my clients.  They brought me two saddles that their now grown sons used when they were small boys.  The idea was to create bar stools for the saddles to rest on.  


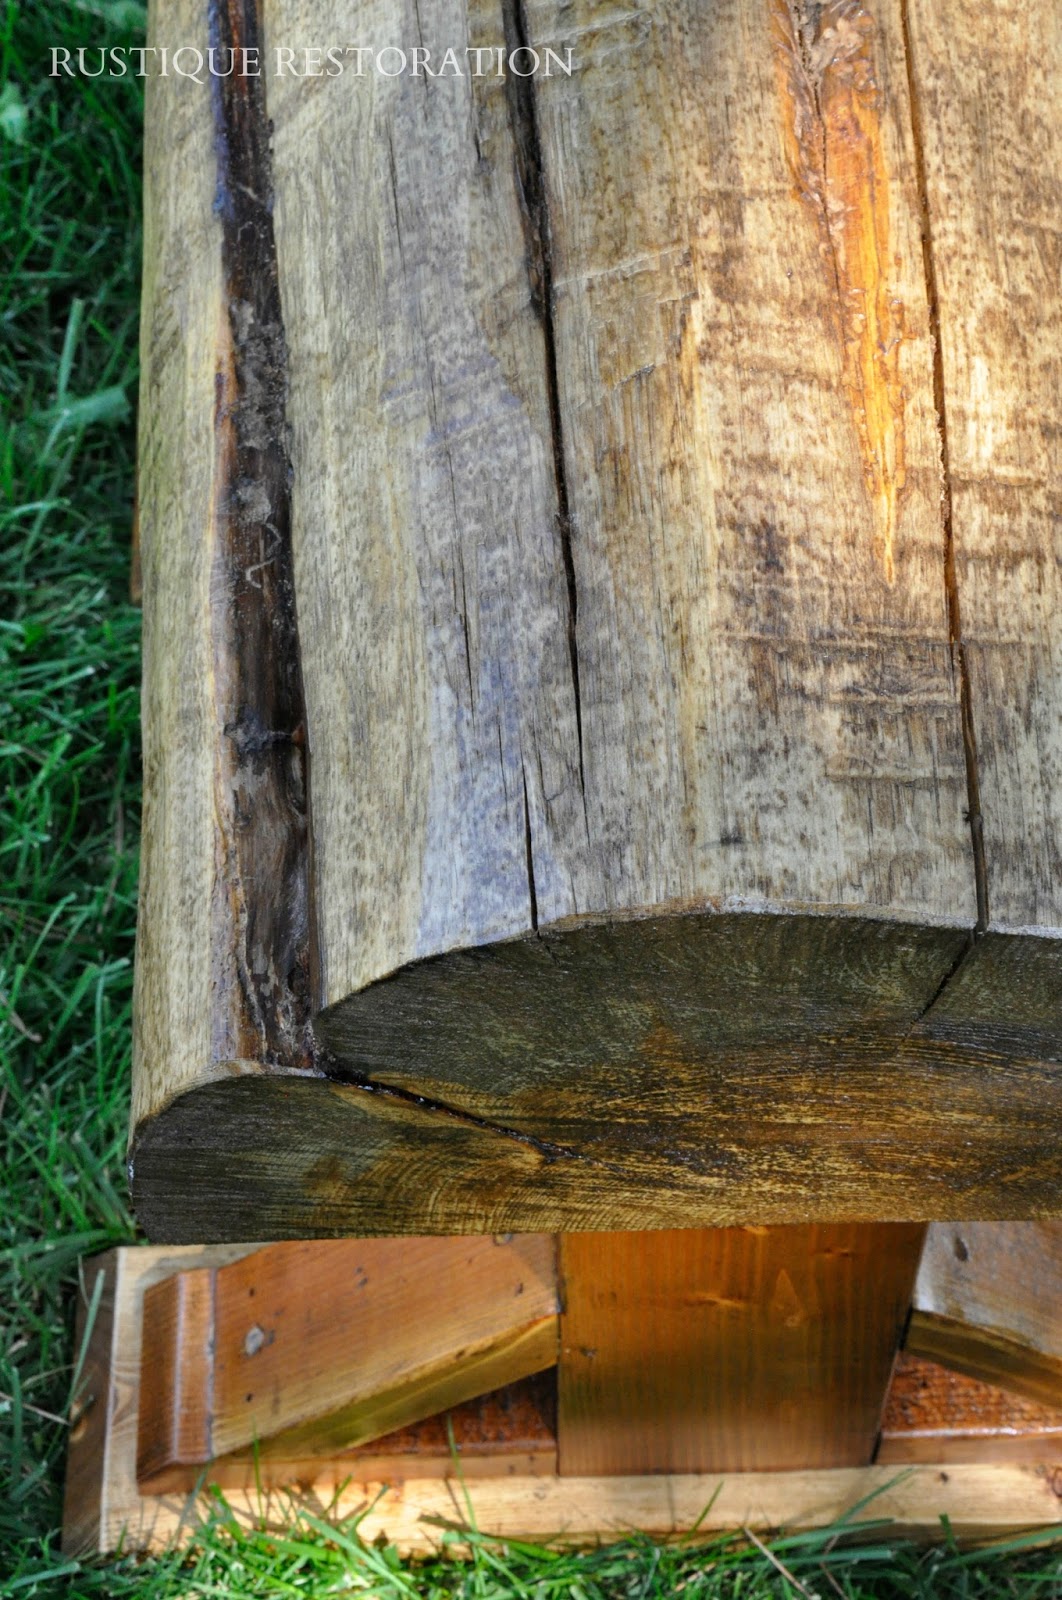
I decided to use half round logs for the saddles to fit nicely over.  Then I created two pedestal style legs for each stool.  These stools are STURDY!  
I started by making a custom cut list, and then went ahead and cut all my pieces.  I decided to angle all of my edges for a nice transition from one piece to the other.  I love how it turned out!


These stools are so fun and will be a great way to display the saddles that made so many memories years ago.


I couldn't post these stools with out a little model to show you how they work.  Scarlett was perfect for the job!  Several times while I was in the process of building and finishing these, she had to test them out.  She would say, "Scarlett's turn!" "horsee".  


Well, as always, thank you for reading and come back soon for my next post!  I have a lot to share!

xo 
Jen


Wednesday, January 20, 2016

Historic Marble Desk and Custom Mahogany Conference Table


So these past couple months, I have been working on this beautiful custom project.  My client had pulled these gorgeous 4" thick marble slabs out of a historic building in Downtown Boise before it was remodeled.  The building dates back to the late 1800's!  How cool is that!?  He was inspired by them and wanted them for his desk top.  That's where I came in.  We sat and drew up a quick design for the desk, and a conference table to match.  The design was tweaked a few times, and I believe we ended up with the best result!  
 
 Everything is constructed out of gorgeous Mahogany, and received several coats of a rich Ebony stain.  Talk about a stunning contrast!

 The marble weighs several hundred pounds, so coming up with something sturdy and safe was very important.  We designed a steal frame to support the marble and keep it from sagging or caving over time.  


 This project was going into another historic building in Downtown Boise, so we had to work with smaller elevators and awkward staircases.  After the last project we completed down the hall, we knew we wanted a simpler delivery and installation process this time.  So we built the conference table in sections.  The whole thing was built in the shop, and finished together, and then taken back apart to get it into place.  Below, Brock is screwing the two skirt/drawer sections together.

 This conference table measures in at eight and a half feet!  102"!!  I built six pencil drawers (three for each side).


This was a fun and challenging project to build.  I am so grateful for the work God has brought my business.  I know that 2016 is going to be another great year for Rustique Restoration!  Thanks for following along and for all of your support through out each year!

xo Jen

Monday, October 20, 2014

A little French Country Flair, and some Silhouette Action!

Well hello Monday!  Gosh, seems like Monday always comes quick doesn't it?  Guess it's back to work for most people.  I didn't work much over the weekend, however, I did squeeze in a little time to make some pillow covers!  I had a blast with these.. They were fairly easy to make and I am in love with both styles.

First is my French Country Floral Pillow Cover.  It comes in two sizes, 16x16 and 18x18.


 Here are the two different sizes.. the one on the right is just a couple inches larger.
 They are sewn with the envelope enclosure.


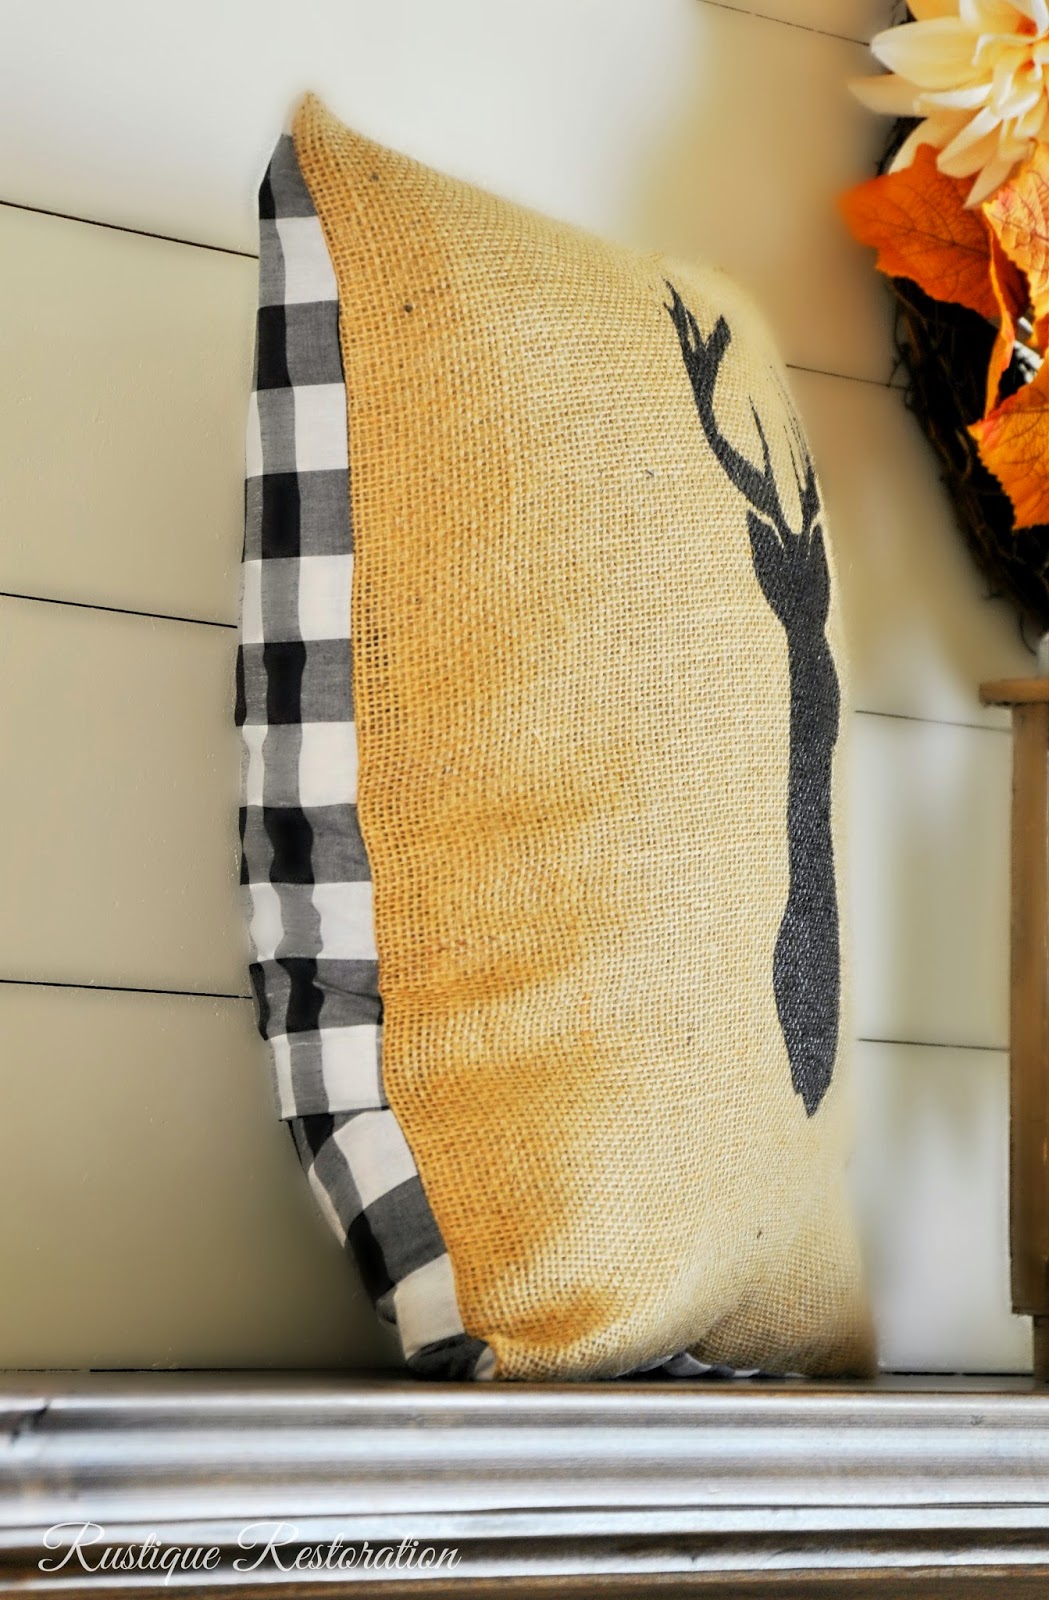
Next up is a Deer Silhouette Pillow Cover on Burlap and Black and White Checks.  I hand drew and painted the Silhouette on using black fabric paint.  This pillow is 16x16, and also features the envelope enclosure.


Both pillow covers can be found in my Etsy Shop!

As always, thank you for stopping by and comments are always welcome and appreciated!!  Have a great day!

xo Jen

Linking up at: